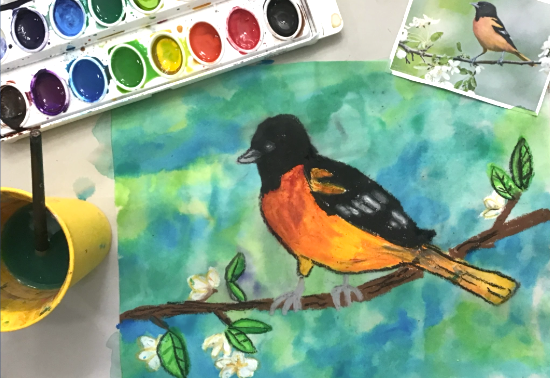
Flamingo Painting
Project Objective
Students will blend colors using multiple mediums such as PlayColor Sticks and watercolors. Students will use both wet-on-wet and dry brush techniques when creating this flamingo image.
Required Materials
Age Group
Resources
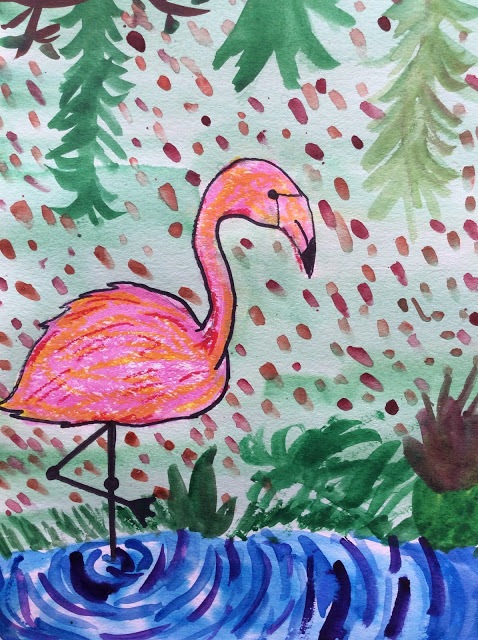
Make brightly colored flamingos with your art students!
- With the pink PlayColor stick, draw the head, body, neck and wings of the flamingo. Add additional PlayColors to the pink such as yellow, red, and/or blue. Let dry before moving to step two.
- Apply water to the lower half of the page and add blue to the wet paper. Then dampen the rest of the page with water. Use watercolor to fill the rest of the background. This technique is called ‘wet-on-wet’. Let it dry before moving to step three.
- Use a black Sharpie marker to bring out all of the details in the bird. This includes the eyes, beak, and legs. Feather details are optional.
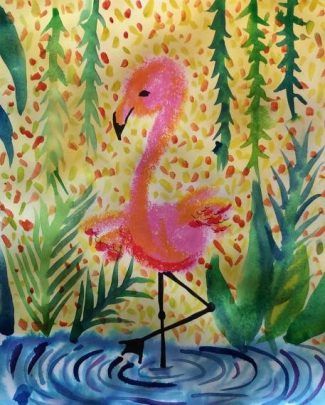
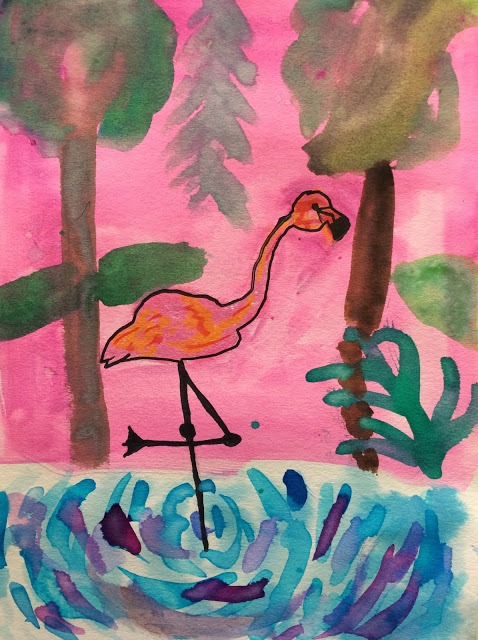
- Use a dry brush method to add the jungle surroundings such as plants, leaves, vines, and additional detail in the water. Students can choose to make their work more realistic such as the image on the left, or add ‘confetti’ as demonstrated in the image on the right.
Share this Lesson Plan
Author
Lesson Plan Rating
Difficulty Level
Mess Potential
Student Satisfaction
Printability