Rainbow Pattern Turtles
Project Objective
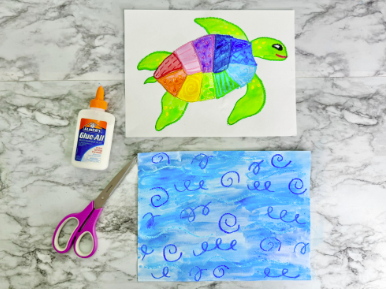
Students will create a realistic turtle swimming under the sea. The drawing will include patterns on the shell. When students are coloring their shells they will color using a rainbow pattern. Students will use multiple mediums for a wax resist style of painting.
Required Materials
Age Group
Resources

| Step One
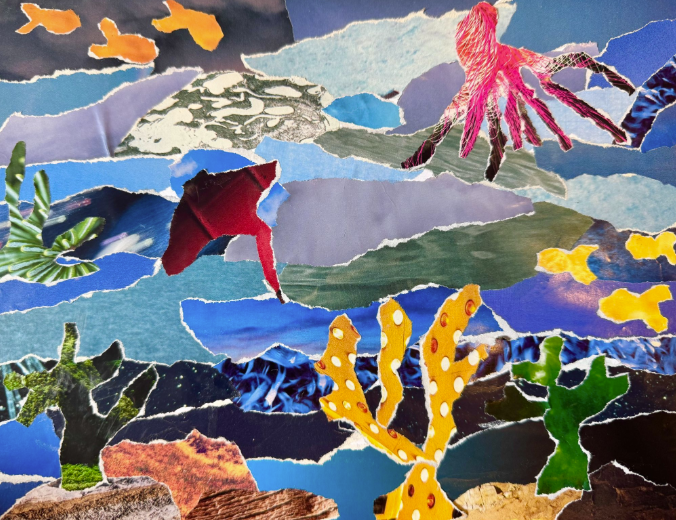
The teacher will read a book about the ocean and sea turtles (of their choice) to the students. The teacher will guide students through questions about the book, oceans, and sea turtles. The students will respond and discuss the book. Suggested questions: 1. Tell me what you know about oceans. 2. What animals live in the ocean? 3. Have you ever been to an ocean? What did it feel like? What did it smell like? What did it taste like? What did you see? 4. Can you name any oceans? 5. What is the difference between a lake and an ocean? 6. What should people do to help preserve and keep the oceans clean? |
| Step Two
Students will all receive a piece of paper and the teacher will guide them through a step-by-step drawing of a sea turtle. The students will draw this drawing using a pencil. The teacher will emphasize line, size, and detail as they draw. The drawing will include all realistic details of a sea turtle including a shell. Optional: the teacher can make tracers of the outline of a sea turtle (or multiple versions) for students to trace. The students will then fill in the details of their sea turtle following step-by-step instructions with their teacher. |
| Step Three
The teacher will discuss different types of lines, shapes, patterns, and designs to include on the shell of the turtle. Students will copy or draw their own designs and patterns on the shell of their turtle. Each piece of the shell should have a different pattern, line, or design. |
| Step Four
The teacher will demonstrate how to outline the drawn lines using oil pastels. The teacher will emphasize going slow, taking their time, and following the drawn line with their oil pastel. The students will use oil pastels to trace the lines they drew slowly, taking their time. Optional: Students can use neon oil pastels. Students can use colors in any order that they choose. |
| Step Five
The teacher will demonstrate proper painting procedures and how to use paintbrushes, paint supplies, and the paint pallets to the students when showing a demonstration on how to paint the sea turtle. Teachers can work color by color with the students to emphasize the repetitive painting procedures and to ensure that colors do not mix when they are painting. The students will paint their entire turtle in a rainbow pattern. Optional: Students can use neon watercolors to paint their turtle. Students can paint their turtle in any colorway that they choose. The teacher can discuss warm/cool colors and paint the turtle warm colors and paint the background cool colors. |
| Step Six
Students will paint their entire background using water colors. Students can choose how to paint their background but should paint the entire paper. Encourage students to be creative, take their time, and complete their sea turtle painting doing their best work. |
| Optional: Students can have a gallery walk when their art is finished. A gallery walk is when every student’s artwork is placed on the table where they sit and all students walk around the classroom looking at each other’s artwork. Students will walk around the art room looking and not touching the artwork, this helps to give them the skills that people have when going to an art museum to look at artwork. After the students are done looking at the art they will return to their seats. Students can raise their hands and one at a time when called on by the teacher they can share what they saw, what they liked, and what stood out most to them. Keep the discussion positive and celebratory. Make sure to clap after each positive comment to encourage students to talk about the artwork. |