Fish Linocuts
Project Objective
Students will learn about the art and artist M.C. Escher in small groups and share out information to the whole class. Students will select an ocean fish to draw and recreate in a linocut. The students will understand, describe, and identify all steps to lino cutting and creating a lino print. Students will be able to critique and receive feedback on their artwork and revise and edit as needed.
Age Group
Resources


| Step One
The teacher will introduce the artist M.C. Escher to the students and guide them into small groups to research the artist and his linocut artwork. Criteria for research presentation:
|
| Step Two
Students will research in small groups M.C. Escher, his life, art style, art process, and artwork. The students will create a short, brief presentation to share out to the whole group on what they found interesting. |
| Step Three
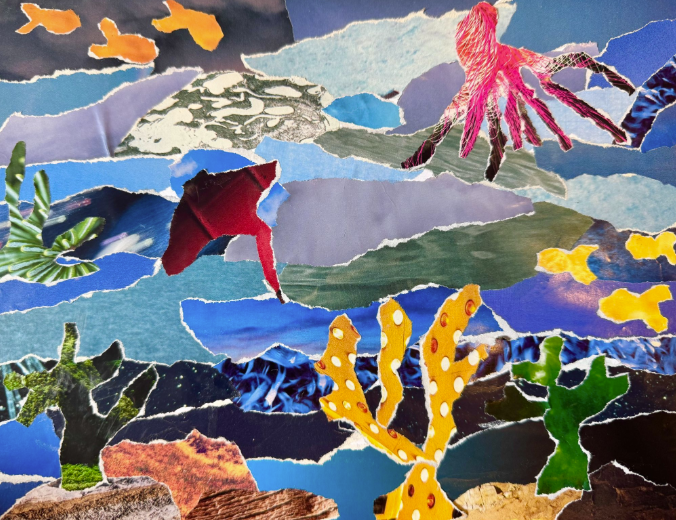
Students will work in their sketchbooks drawing 3-4 fish ideas for the final print. The students should explore multiple fish ideas, however if they choose they can draw 1 fish from different angles or perspectives. Drawings should concentrate on fish only, the students should not add extra details to the backgrounds. |
| Step Four
When complete, students will share their sketchbook ideas with the teacher and have discussion on their best idea. When a final idea has been chosen the students will work on a paper cut to the size of their linoleum tile. Optional: students can measure out the size of this tile in their sketchbooks and complete the drawing in the sketchbook. |
| Step Five
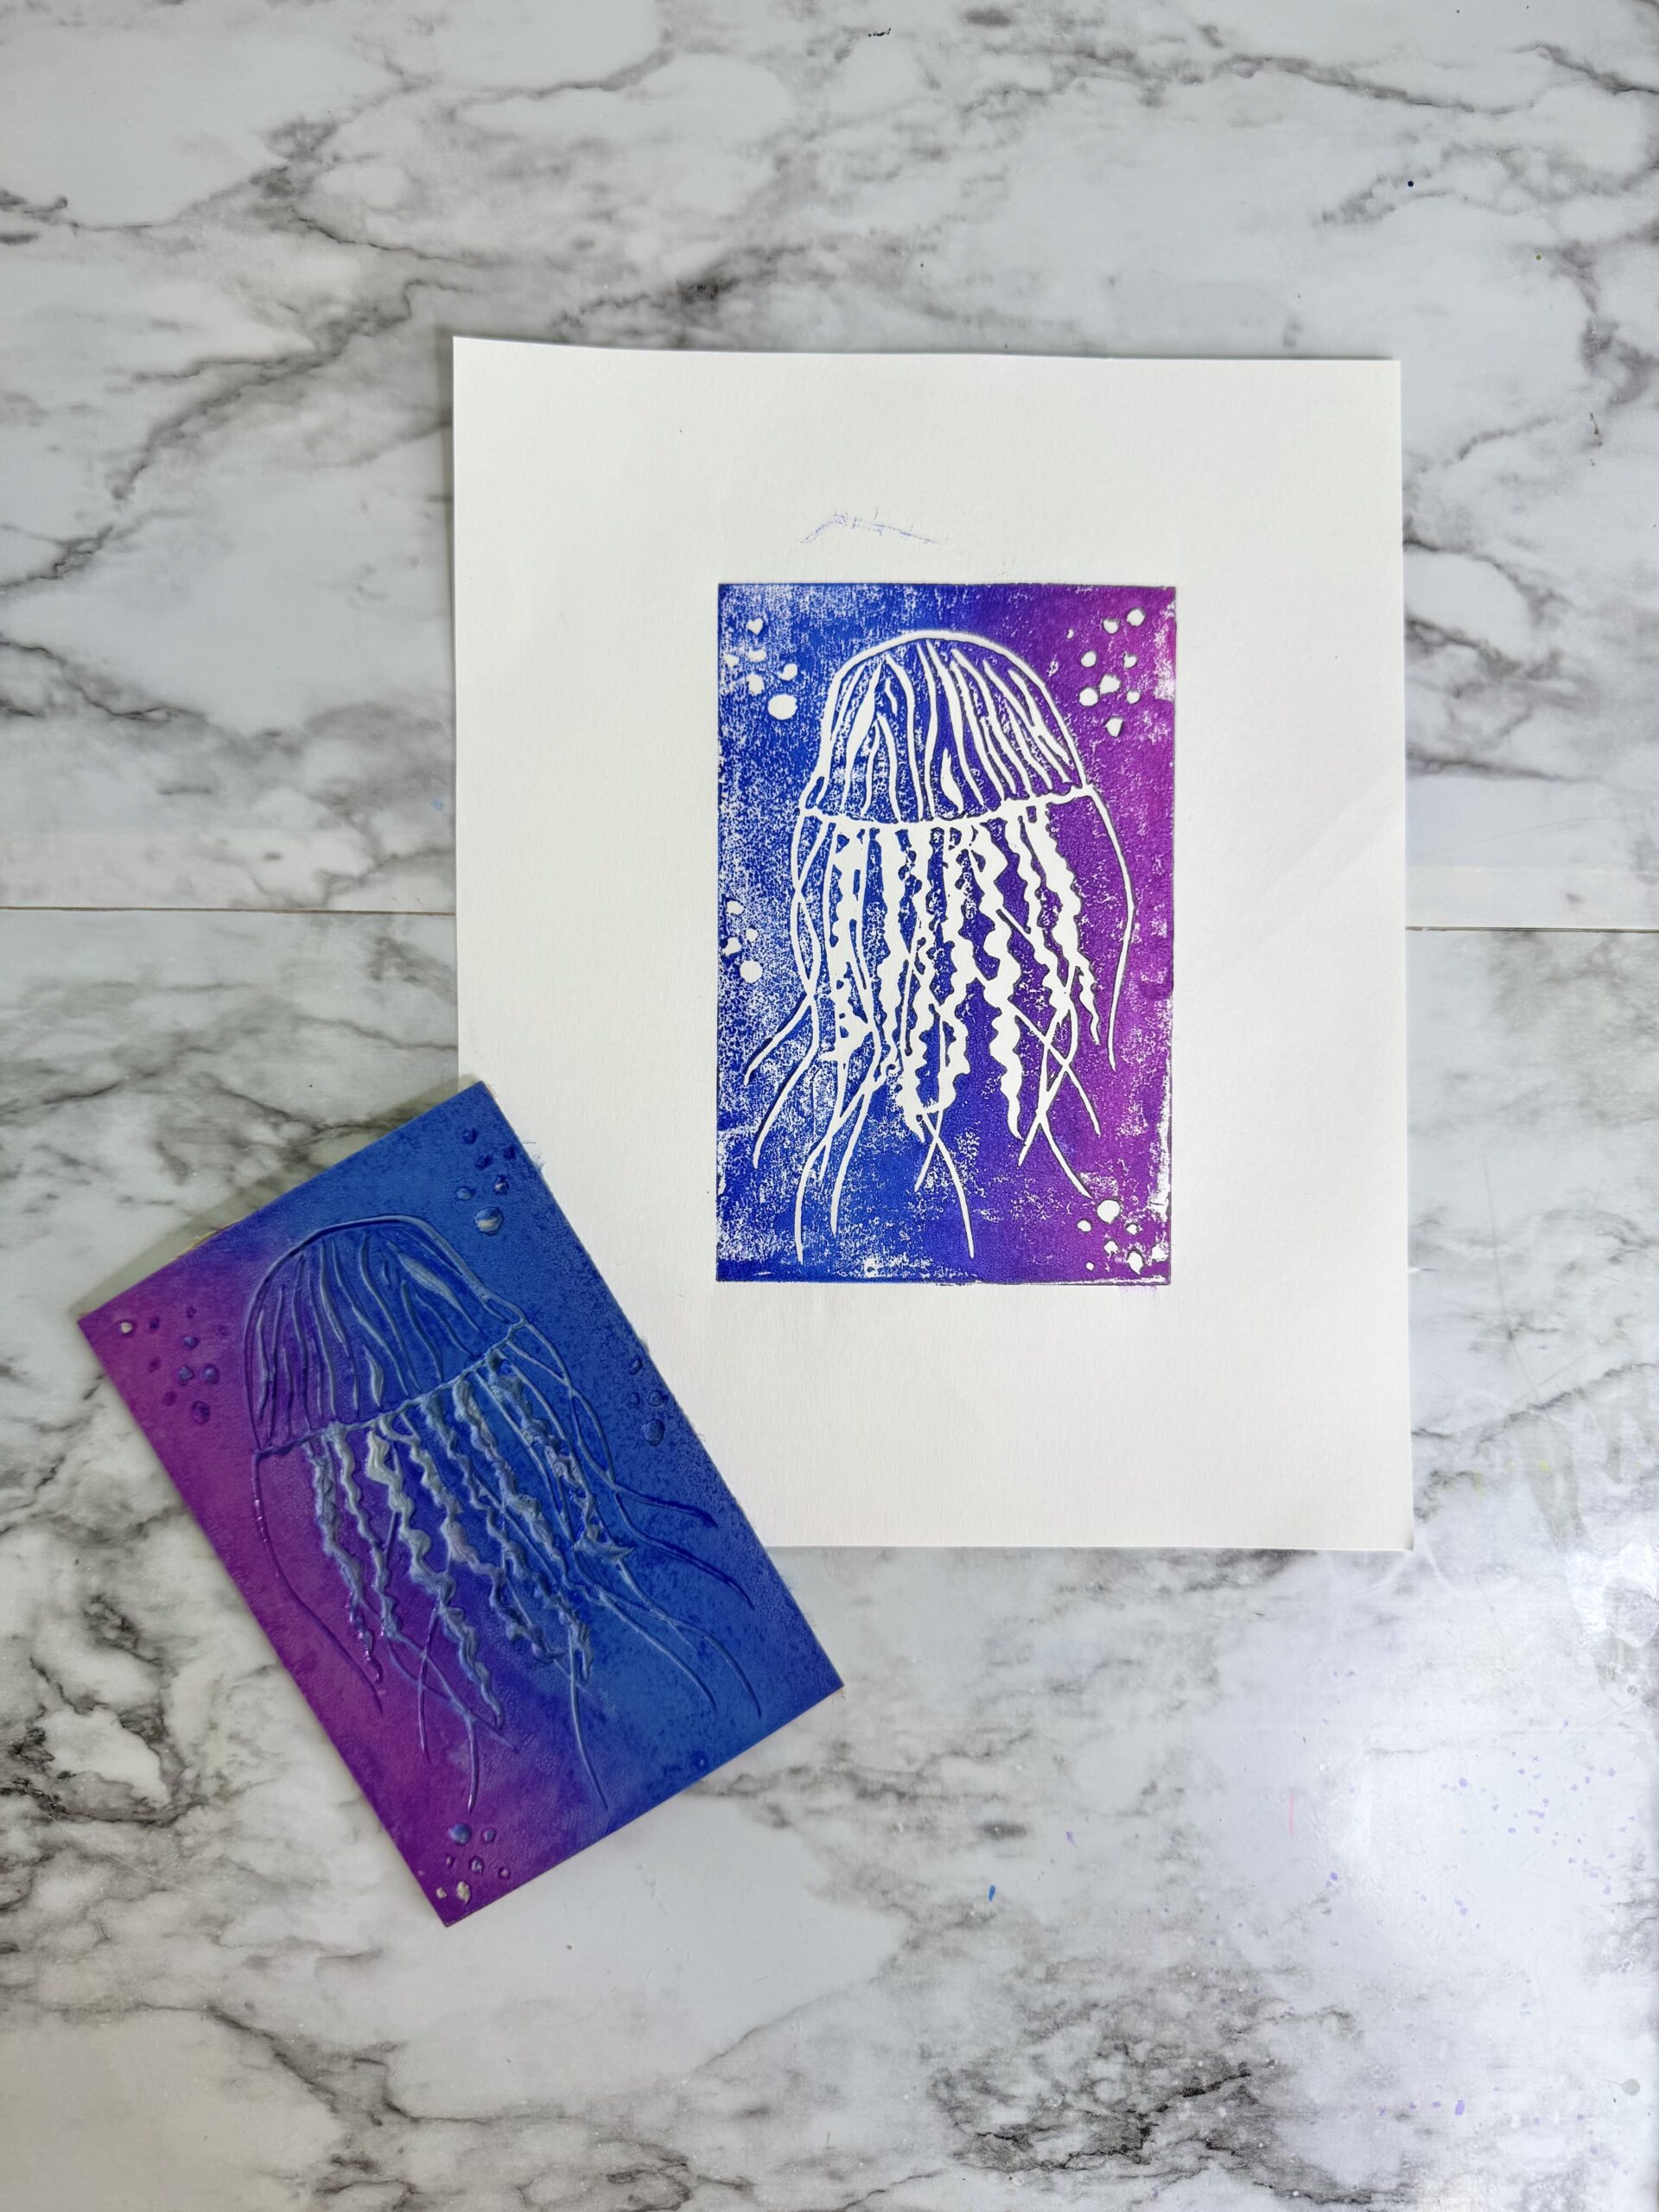
Students will draw their final fish drawing on their linoleum tile using a pen. Students should include all detail to their fish in this drawing to best help them recreate all detail in their drawing when carving. |
| Step Six
Using the linoleum safety boards, carving tool, and following all safety procedures students will carve into their linoleum tile. The students will focus on creating deep cut lines to emphasize their details and work on creating texture in the fish and the background. |
| Step Seven
When the linoleum tile is finished students will set up a printmaking work station following the teacher’s setup demonstration. Students make practice on scrap paper printing their fish before they work on the final paper. The students will create 1-4 prints on their final paper of their fish linocut. |
| Optional: Students will have an art critique and complete an artist statement or critique about their own artwork and the artwork of others. |