Shape Masking
Project Objective
Get your younger classes comfortable with different art tools and mediums.
Required Materials
Age Group
Resources
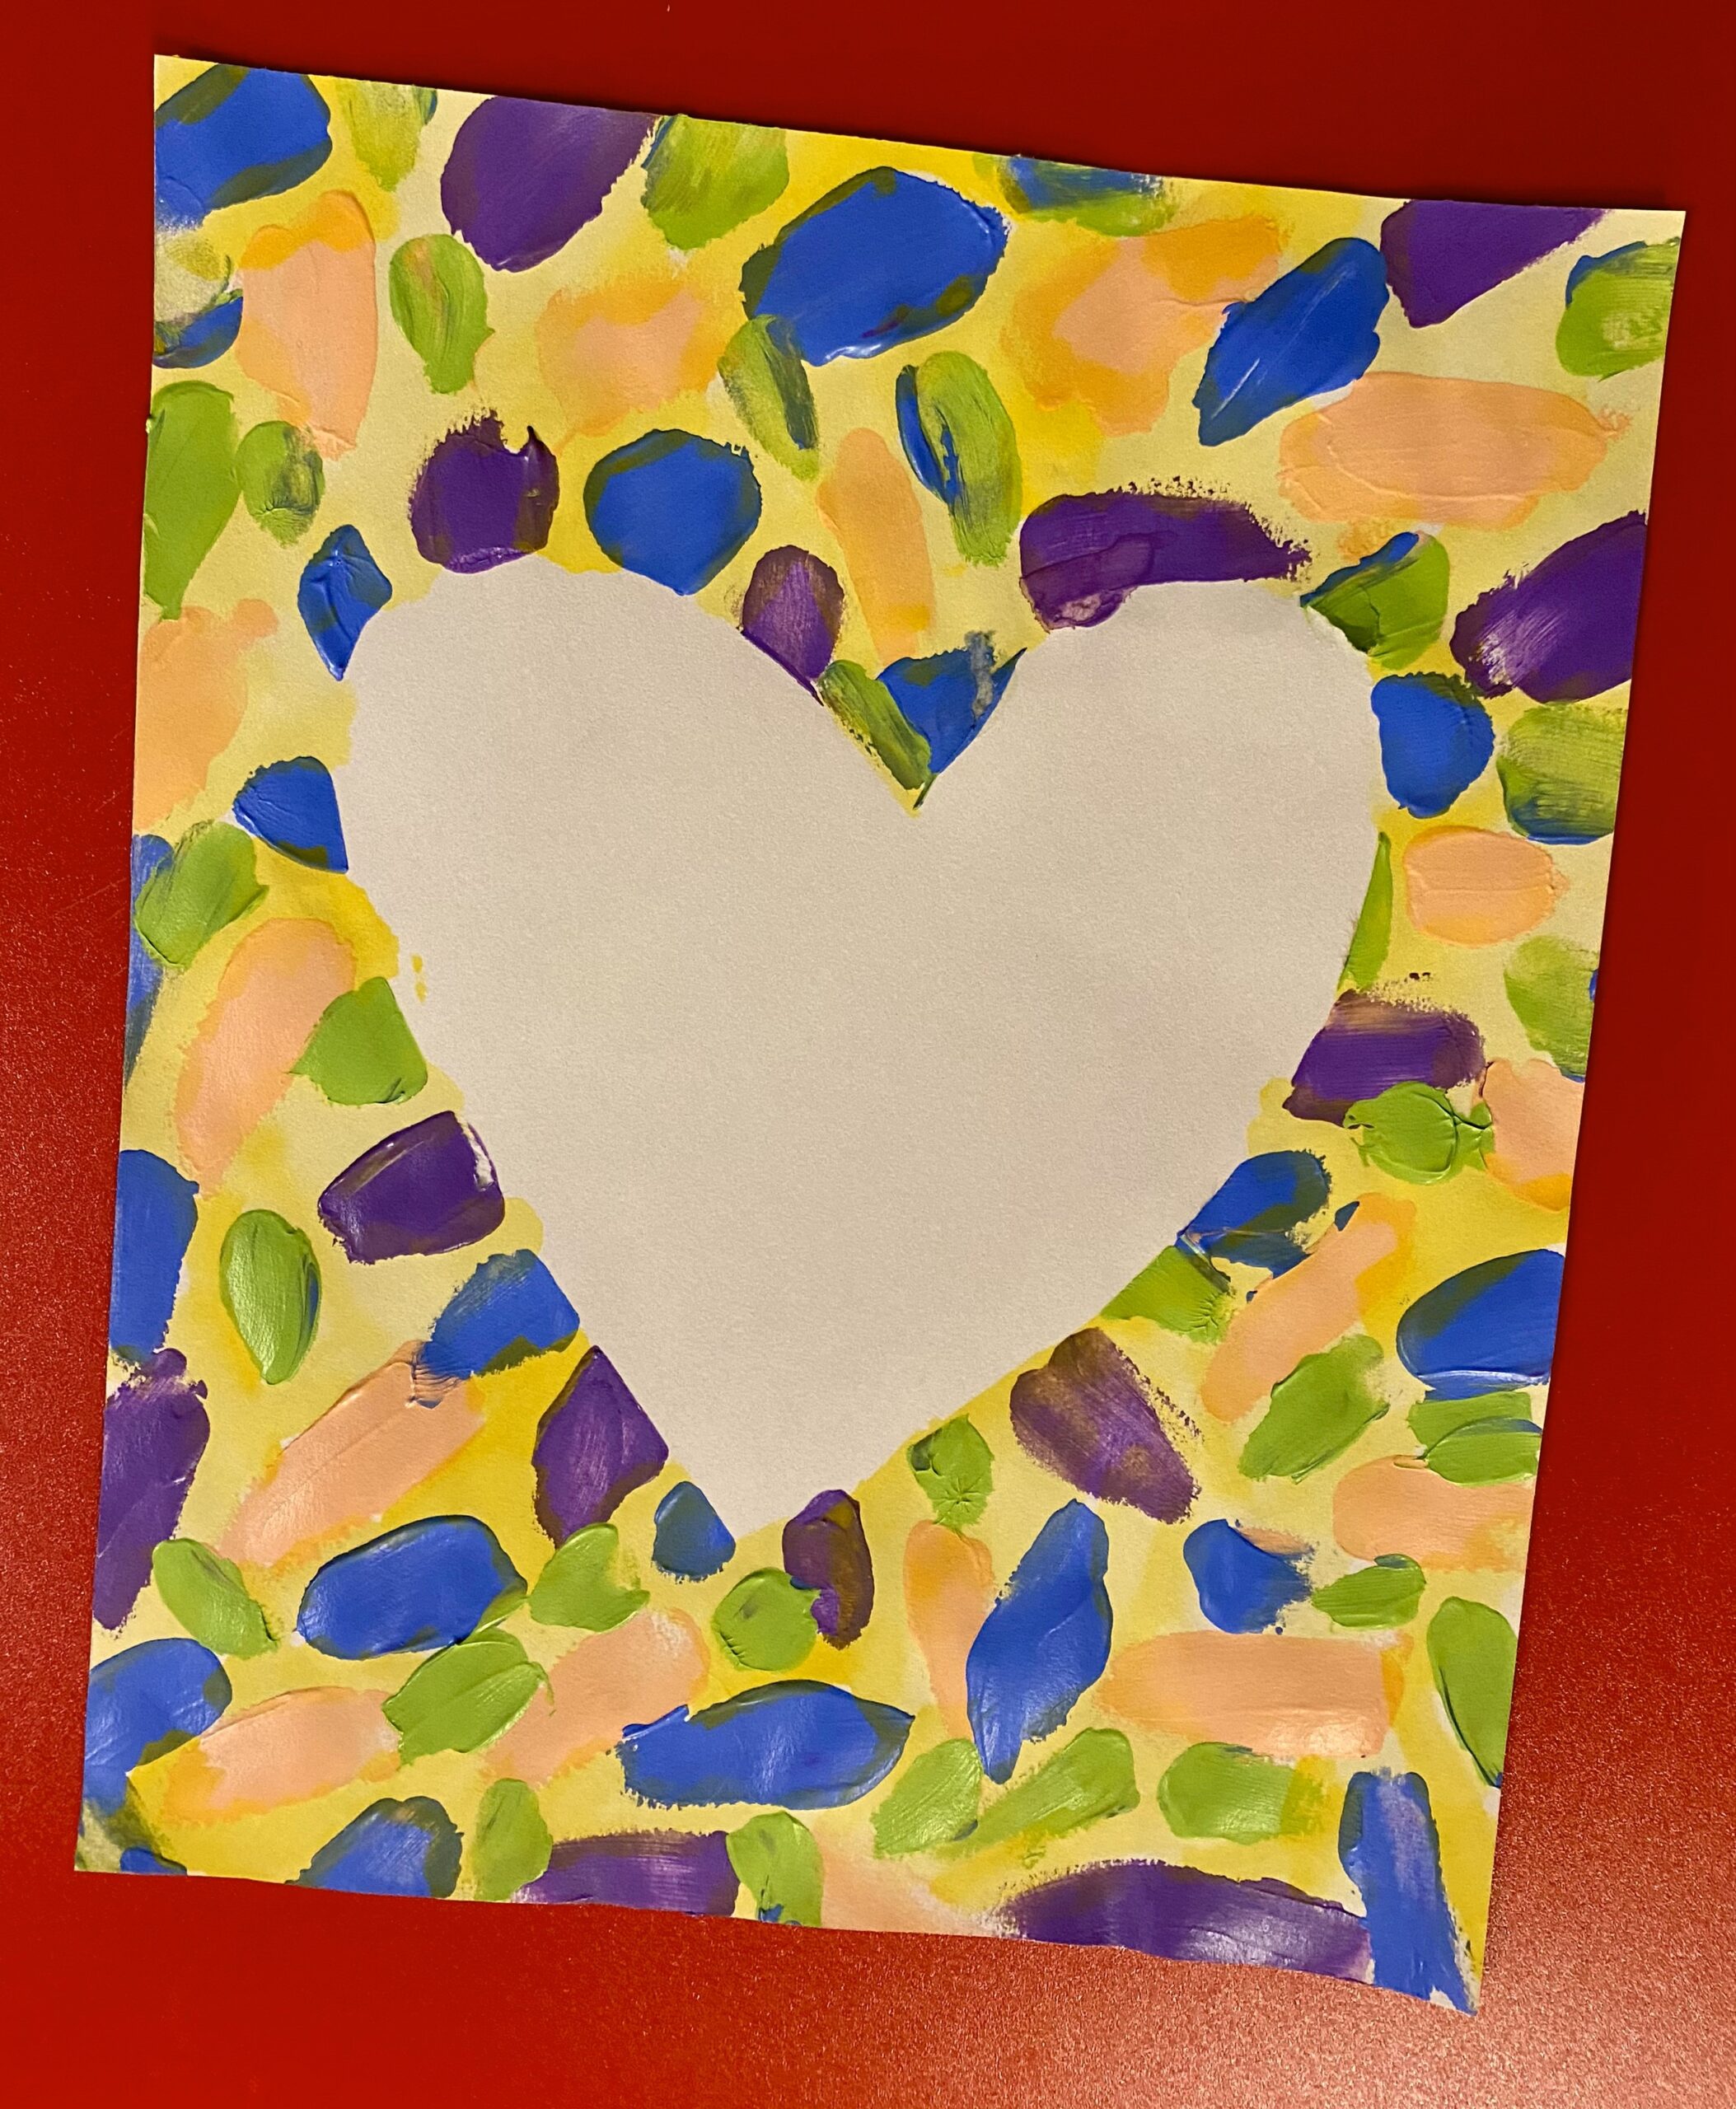
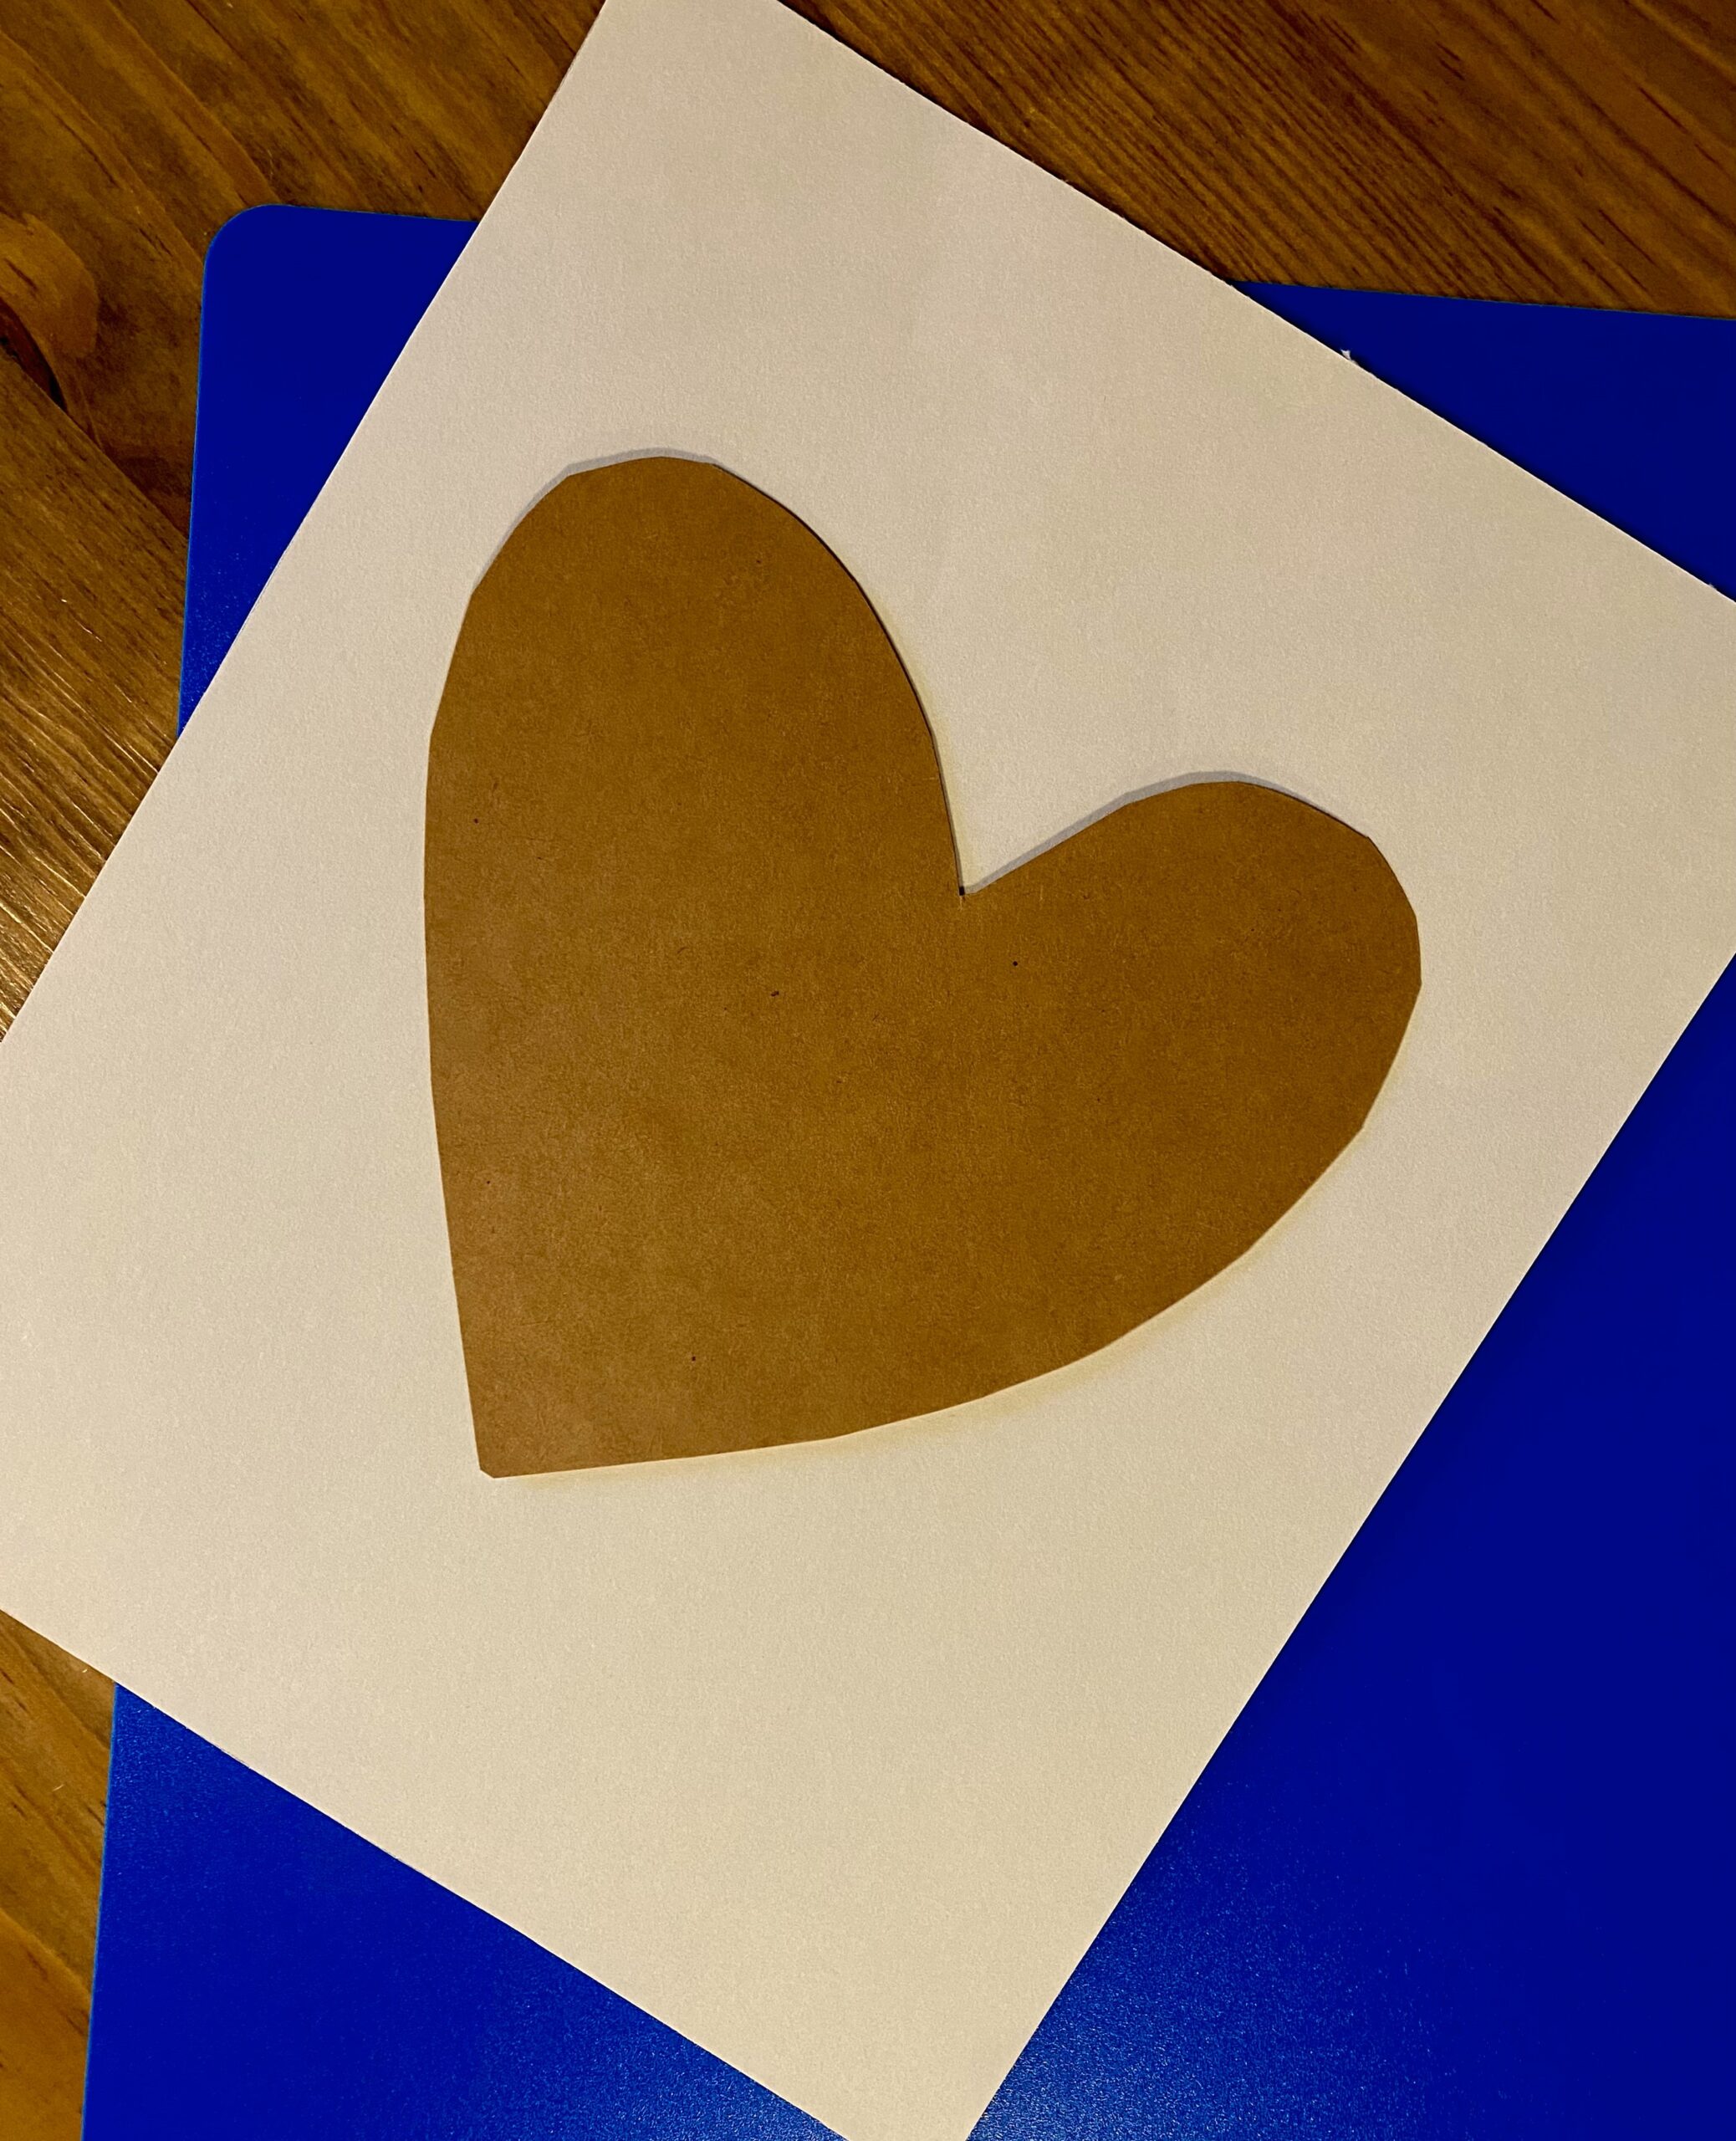
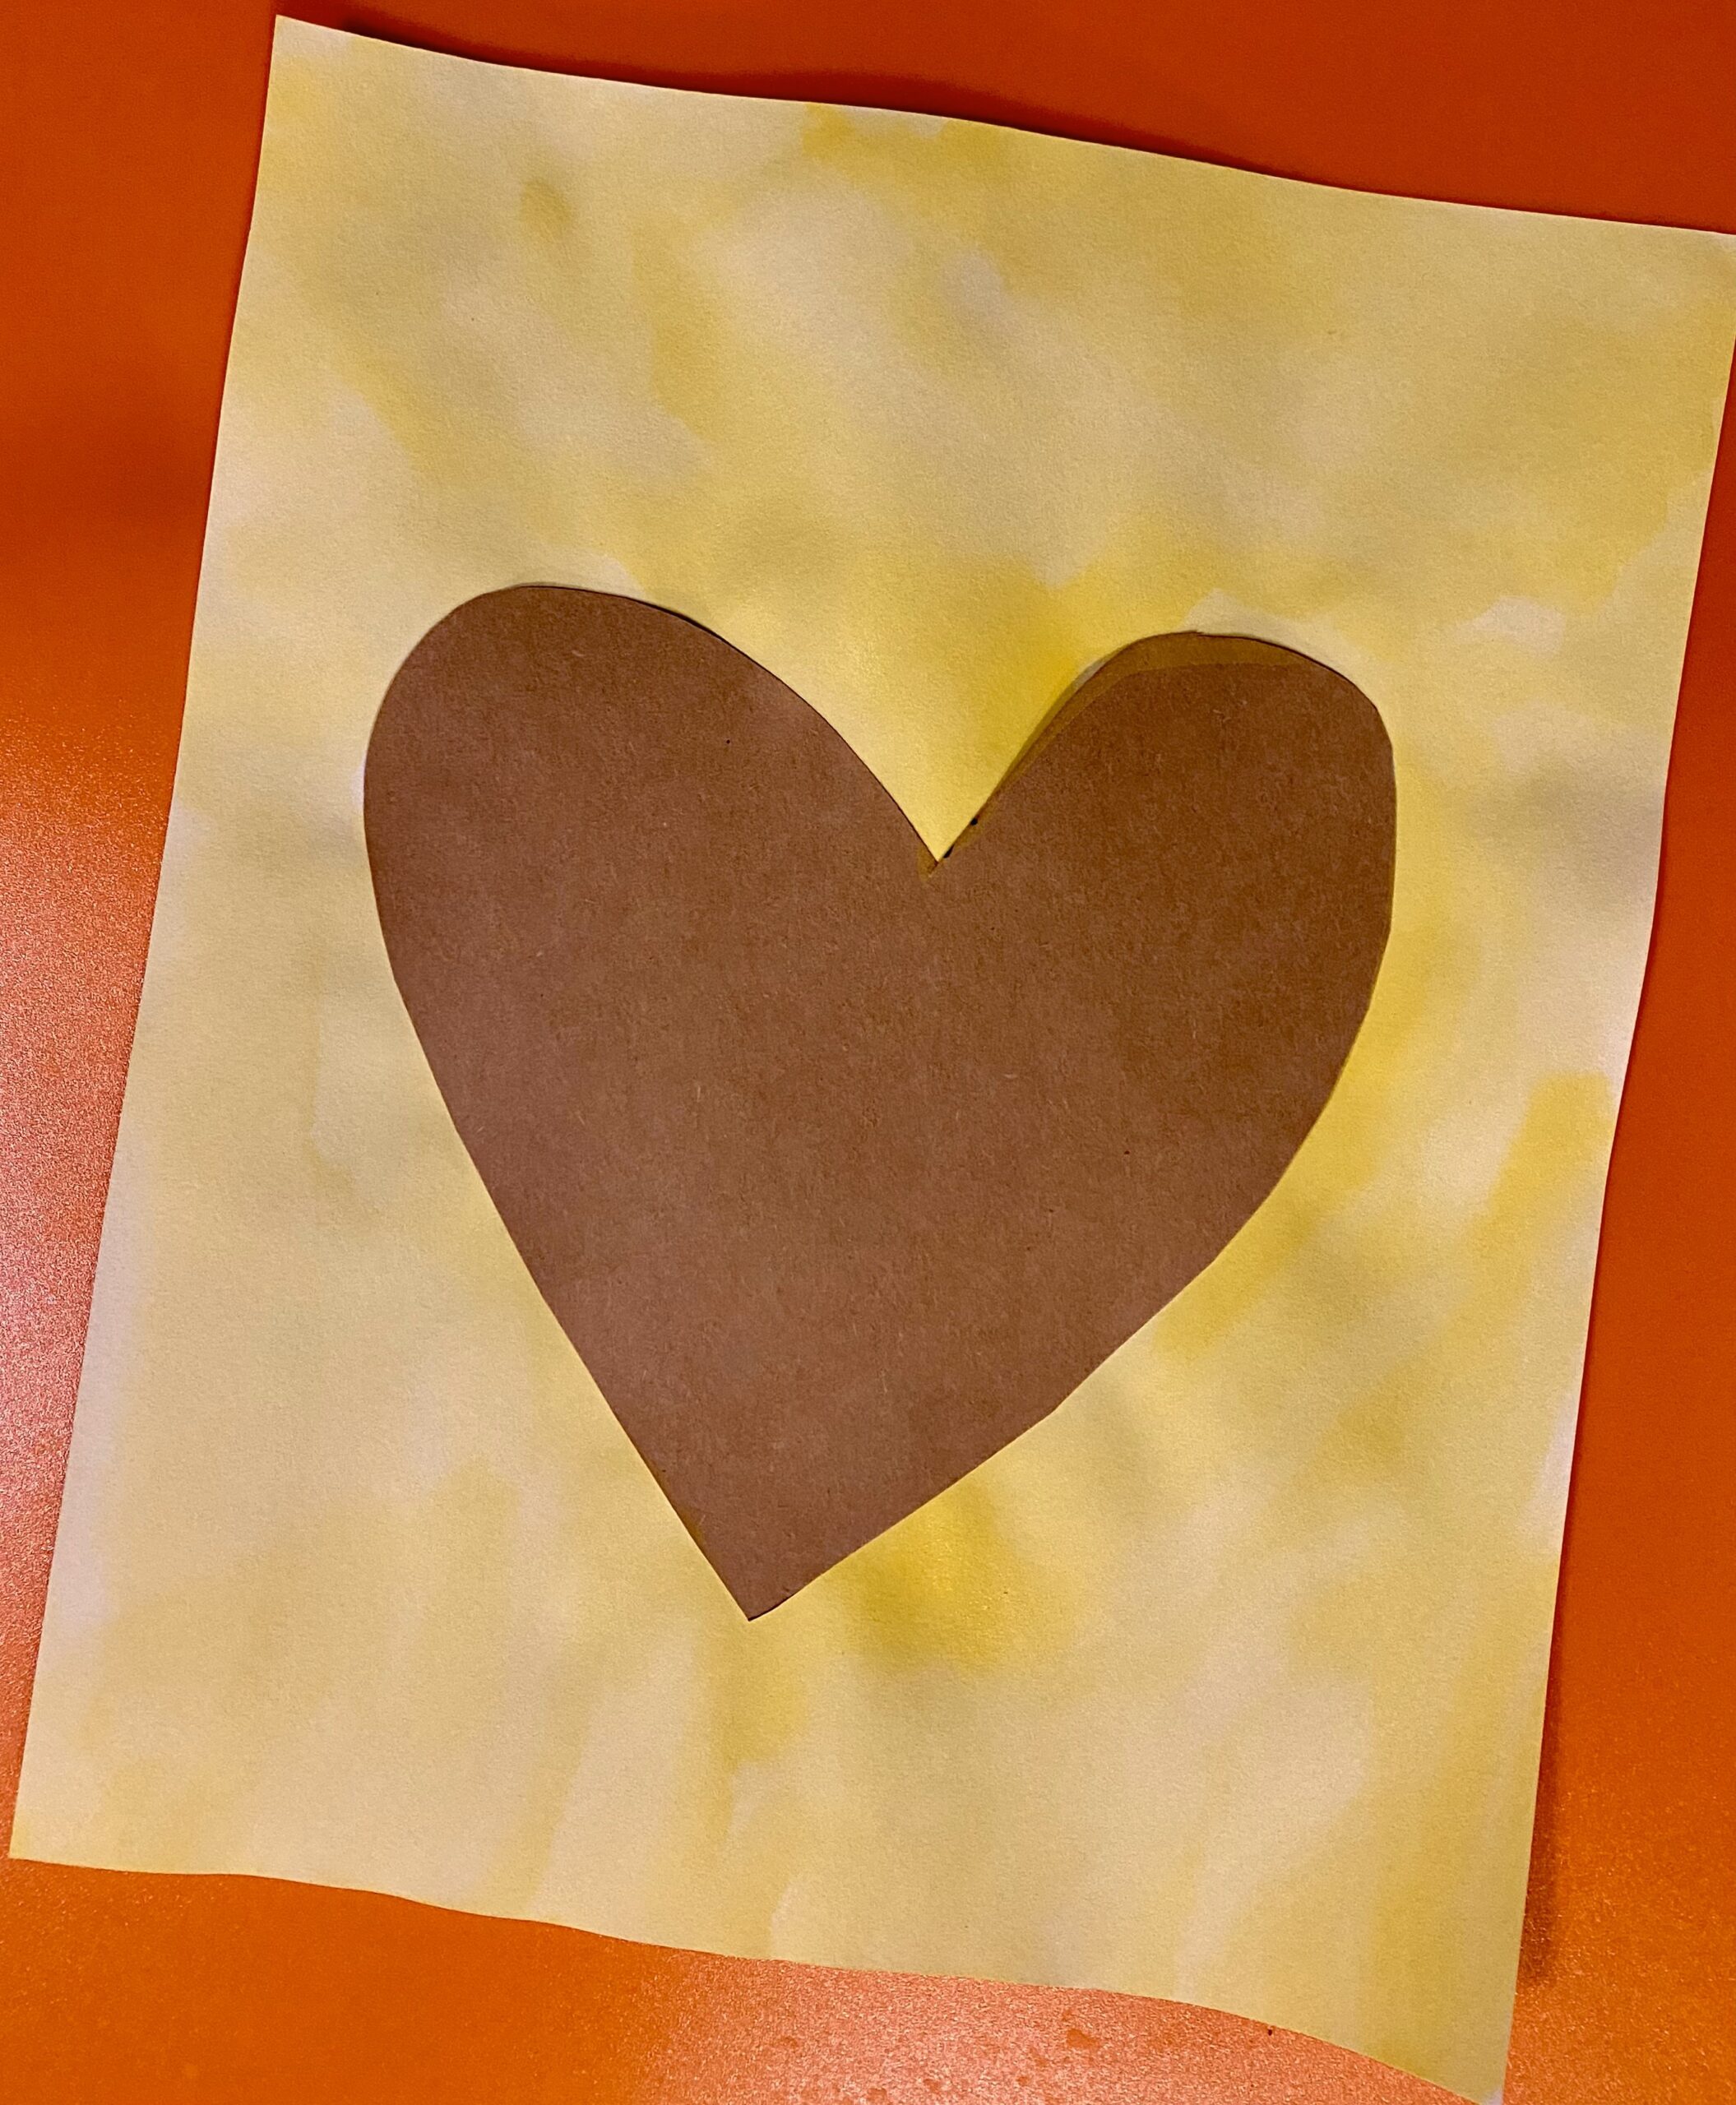
Step 1: Attach the shape of choice with an easy-to-remove tape. (Painter’s tape, masking tape.)
Step 2: (Optional) It may be good to apply a light layer of watercolor paint to provide contrast when the shape is lifted at the end. This would be a fail-safe way to ensure the masked shape shows even if the preschooler’s texture method didn’t fill the background space fully. Let dry before next step.
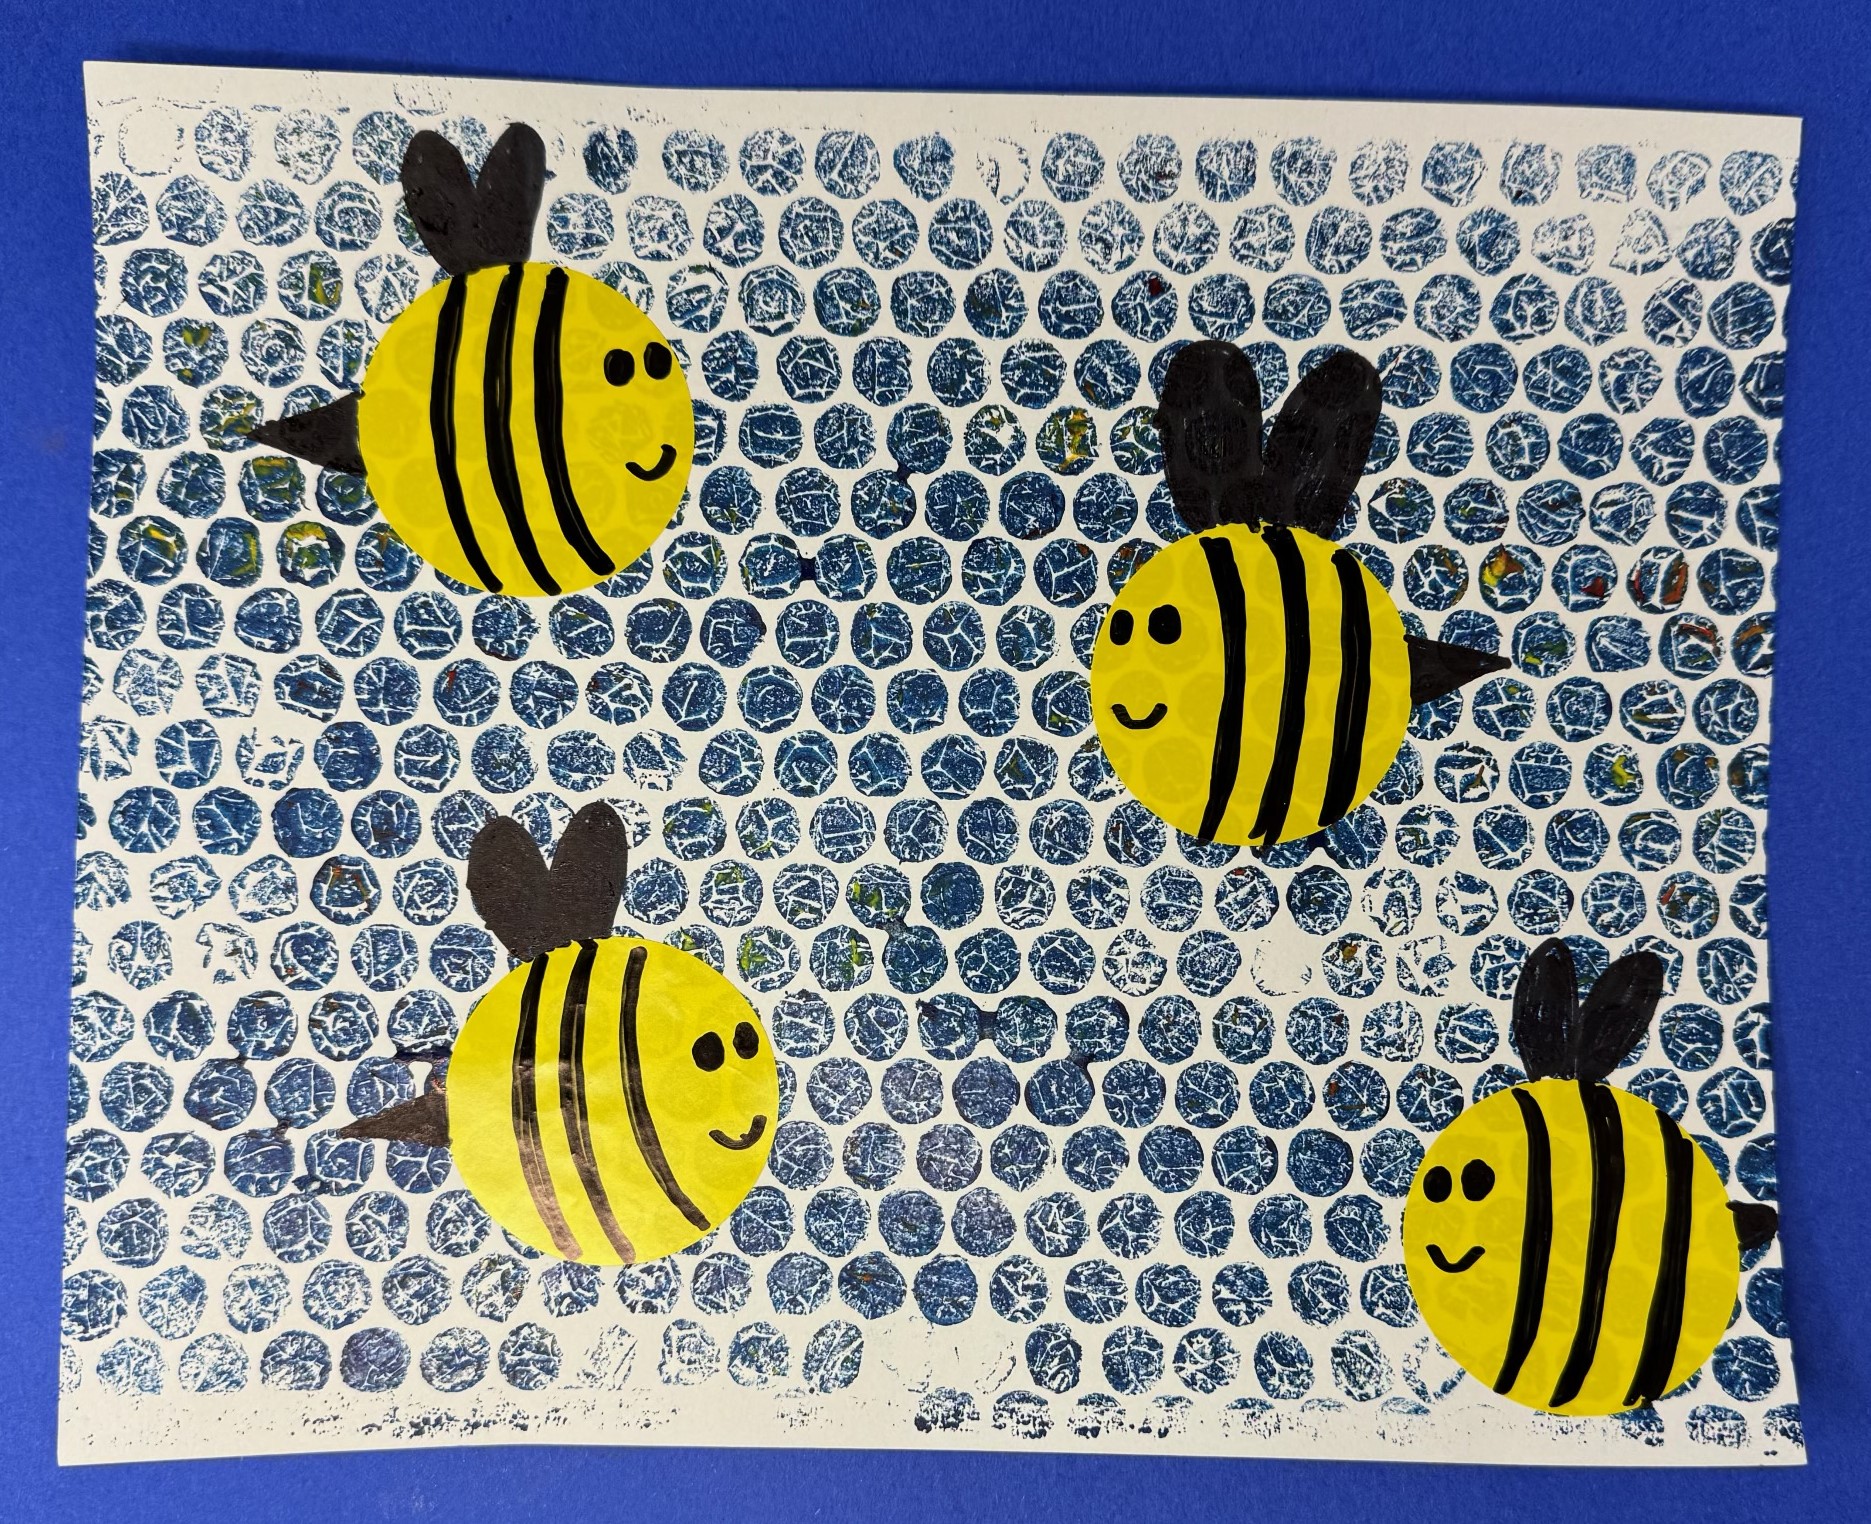
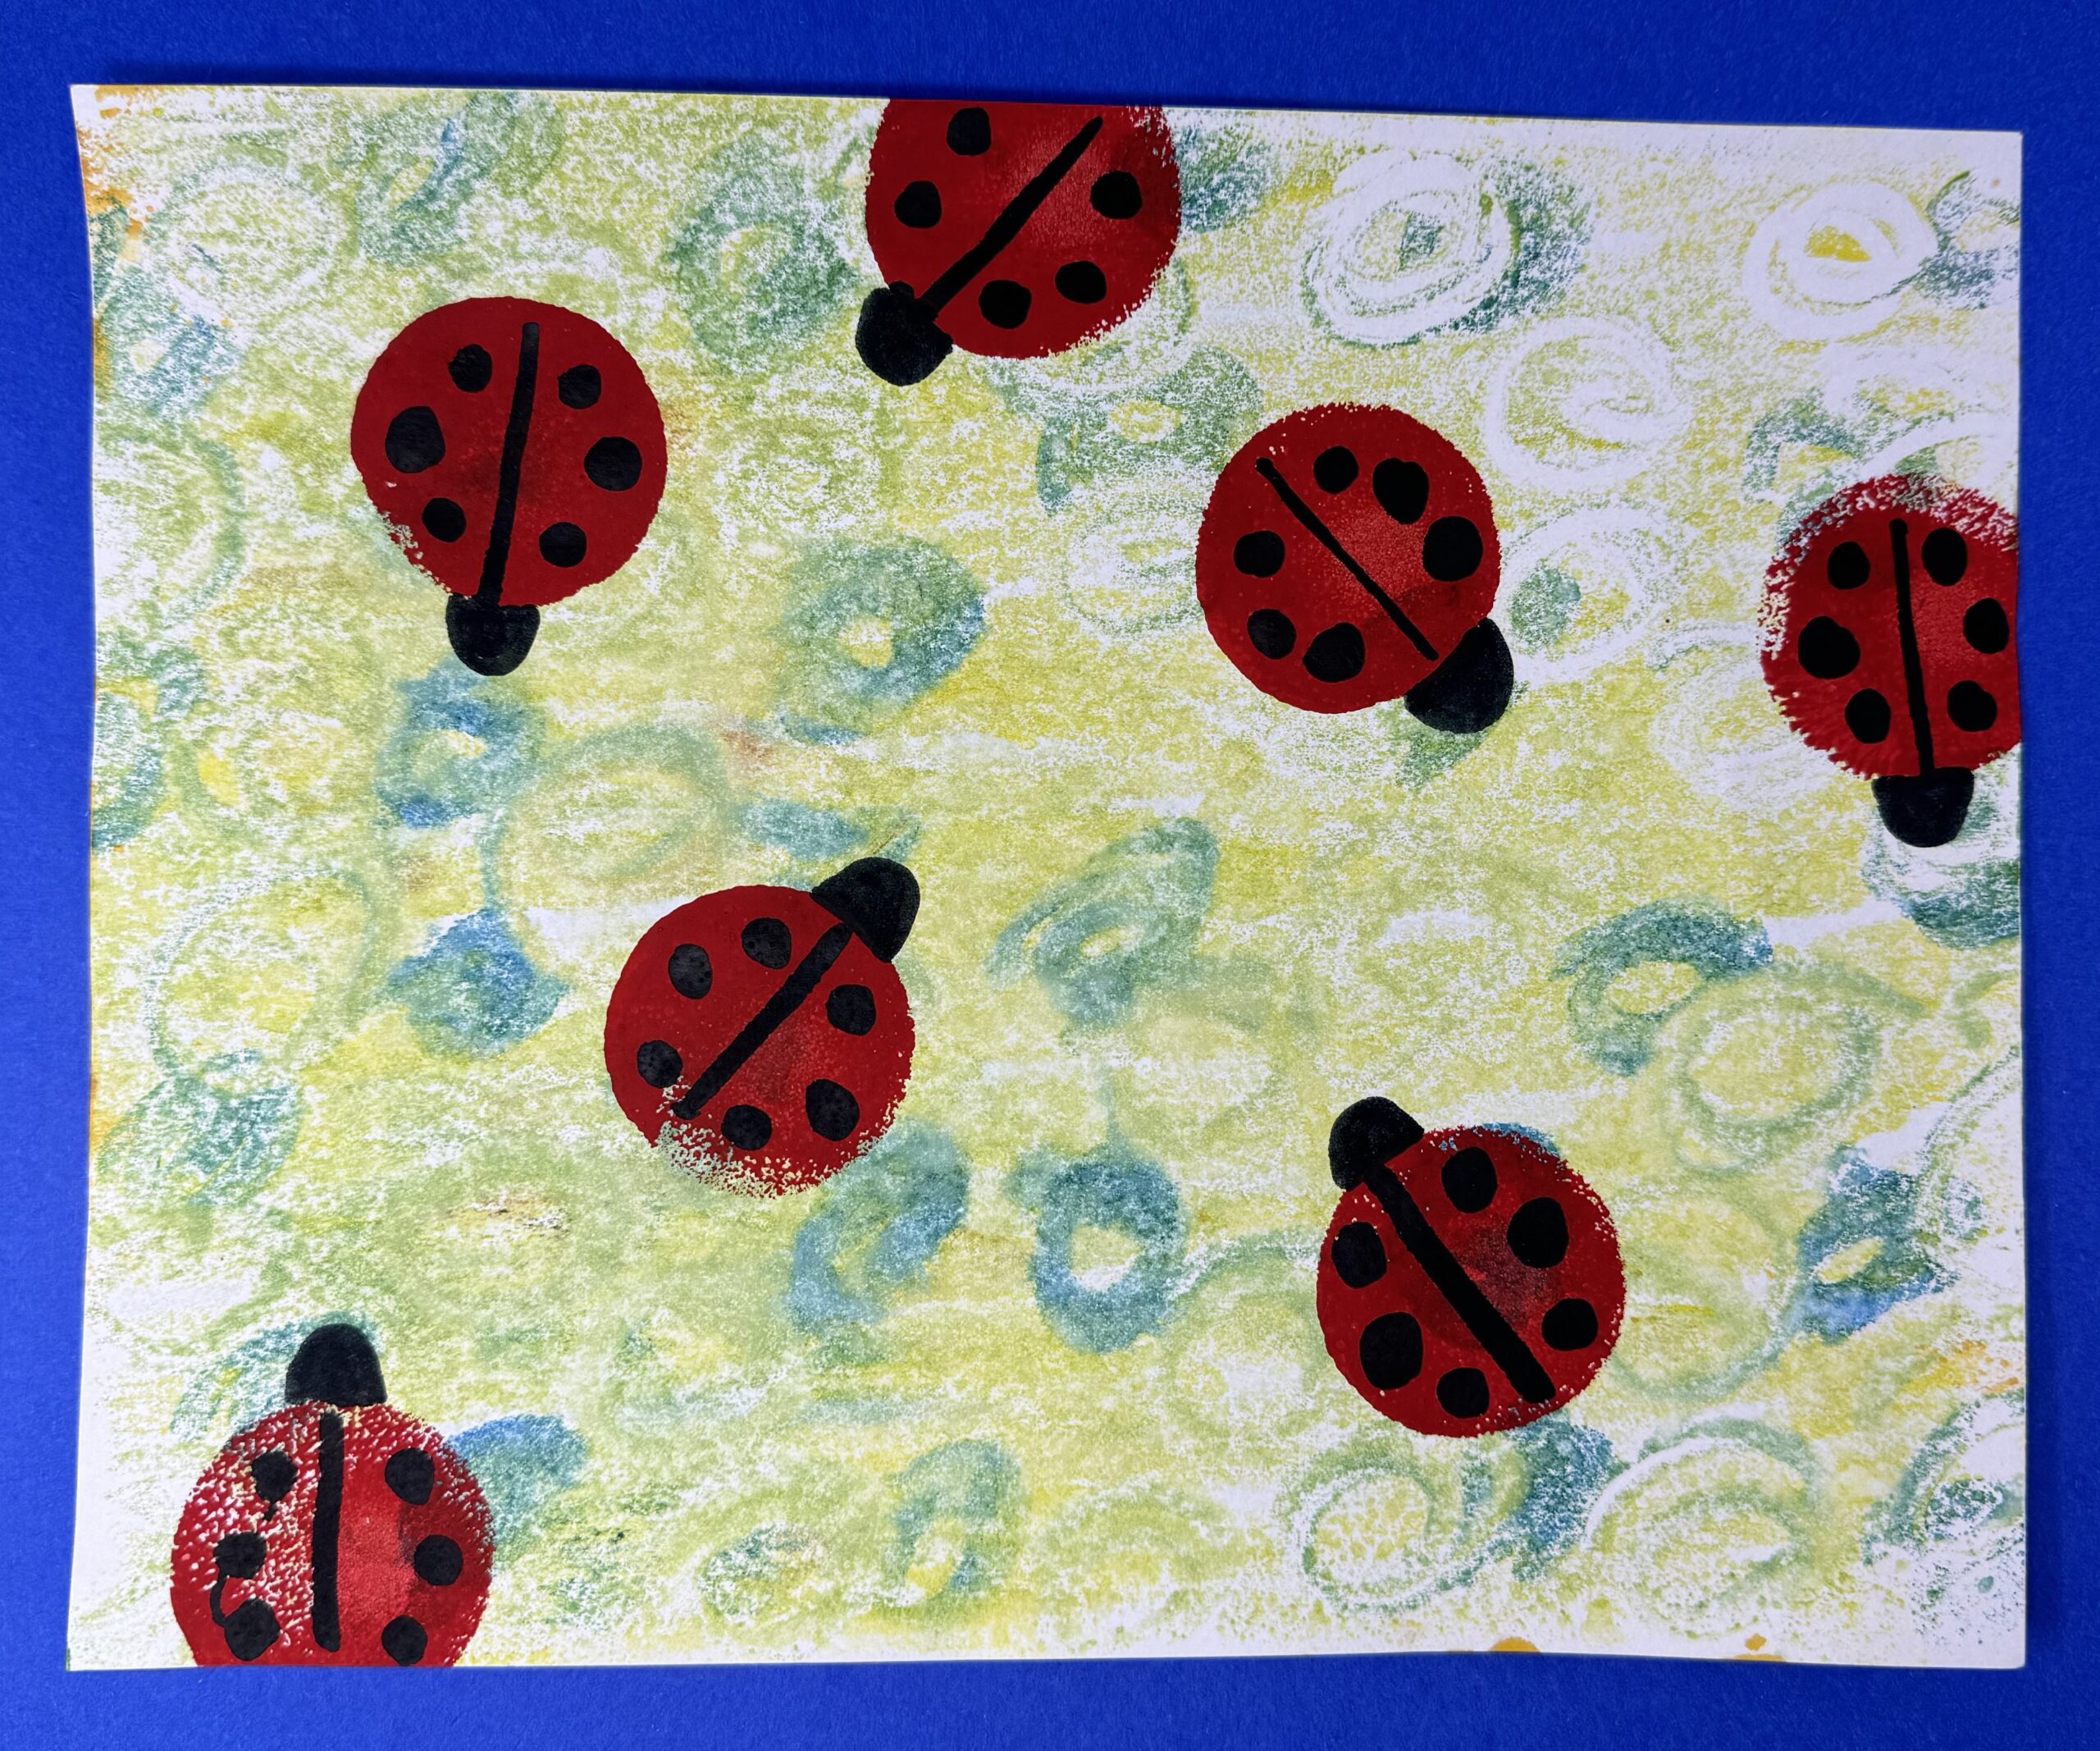
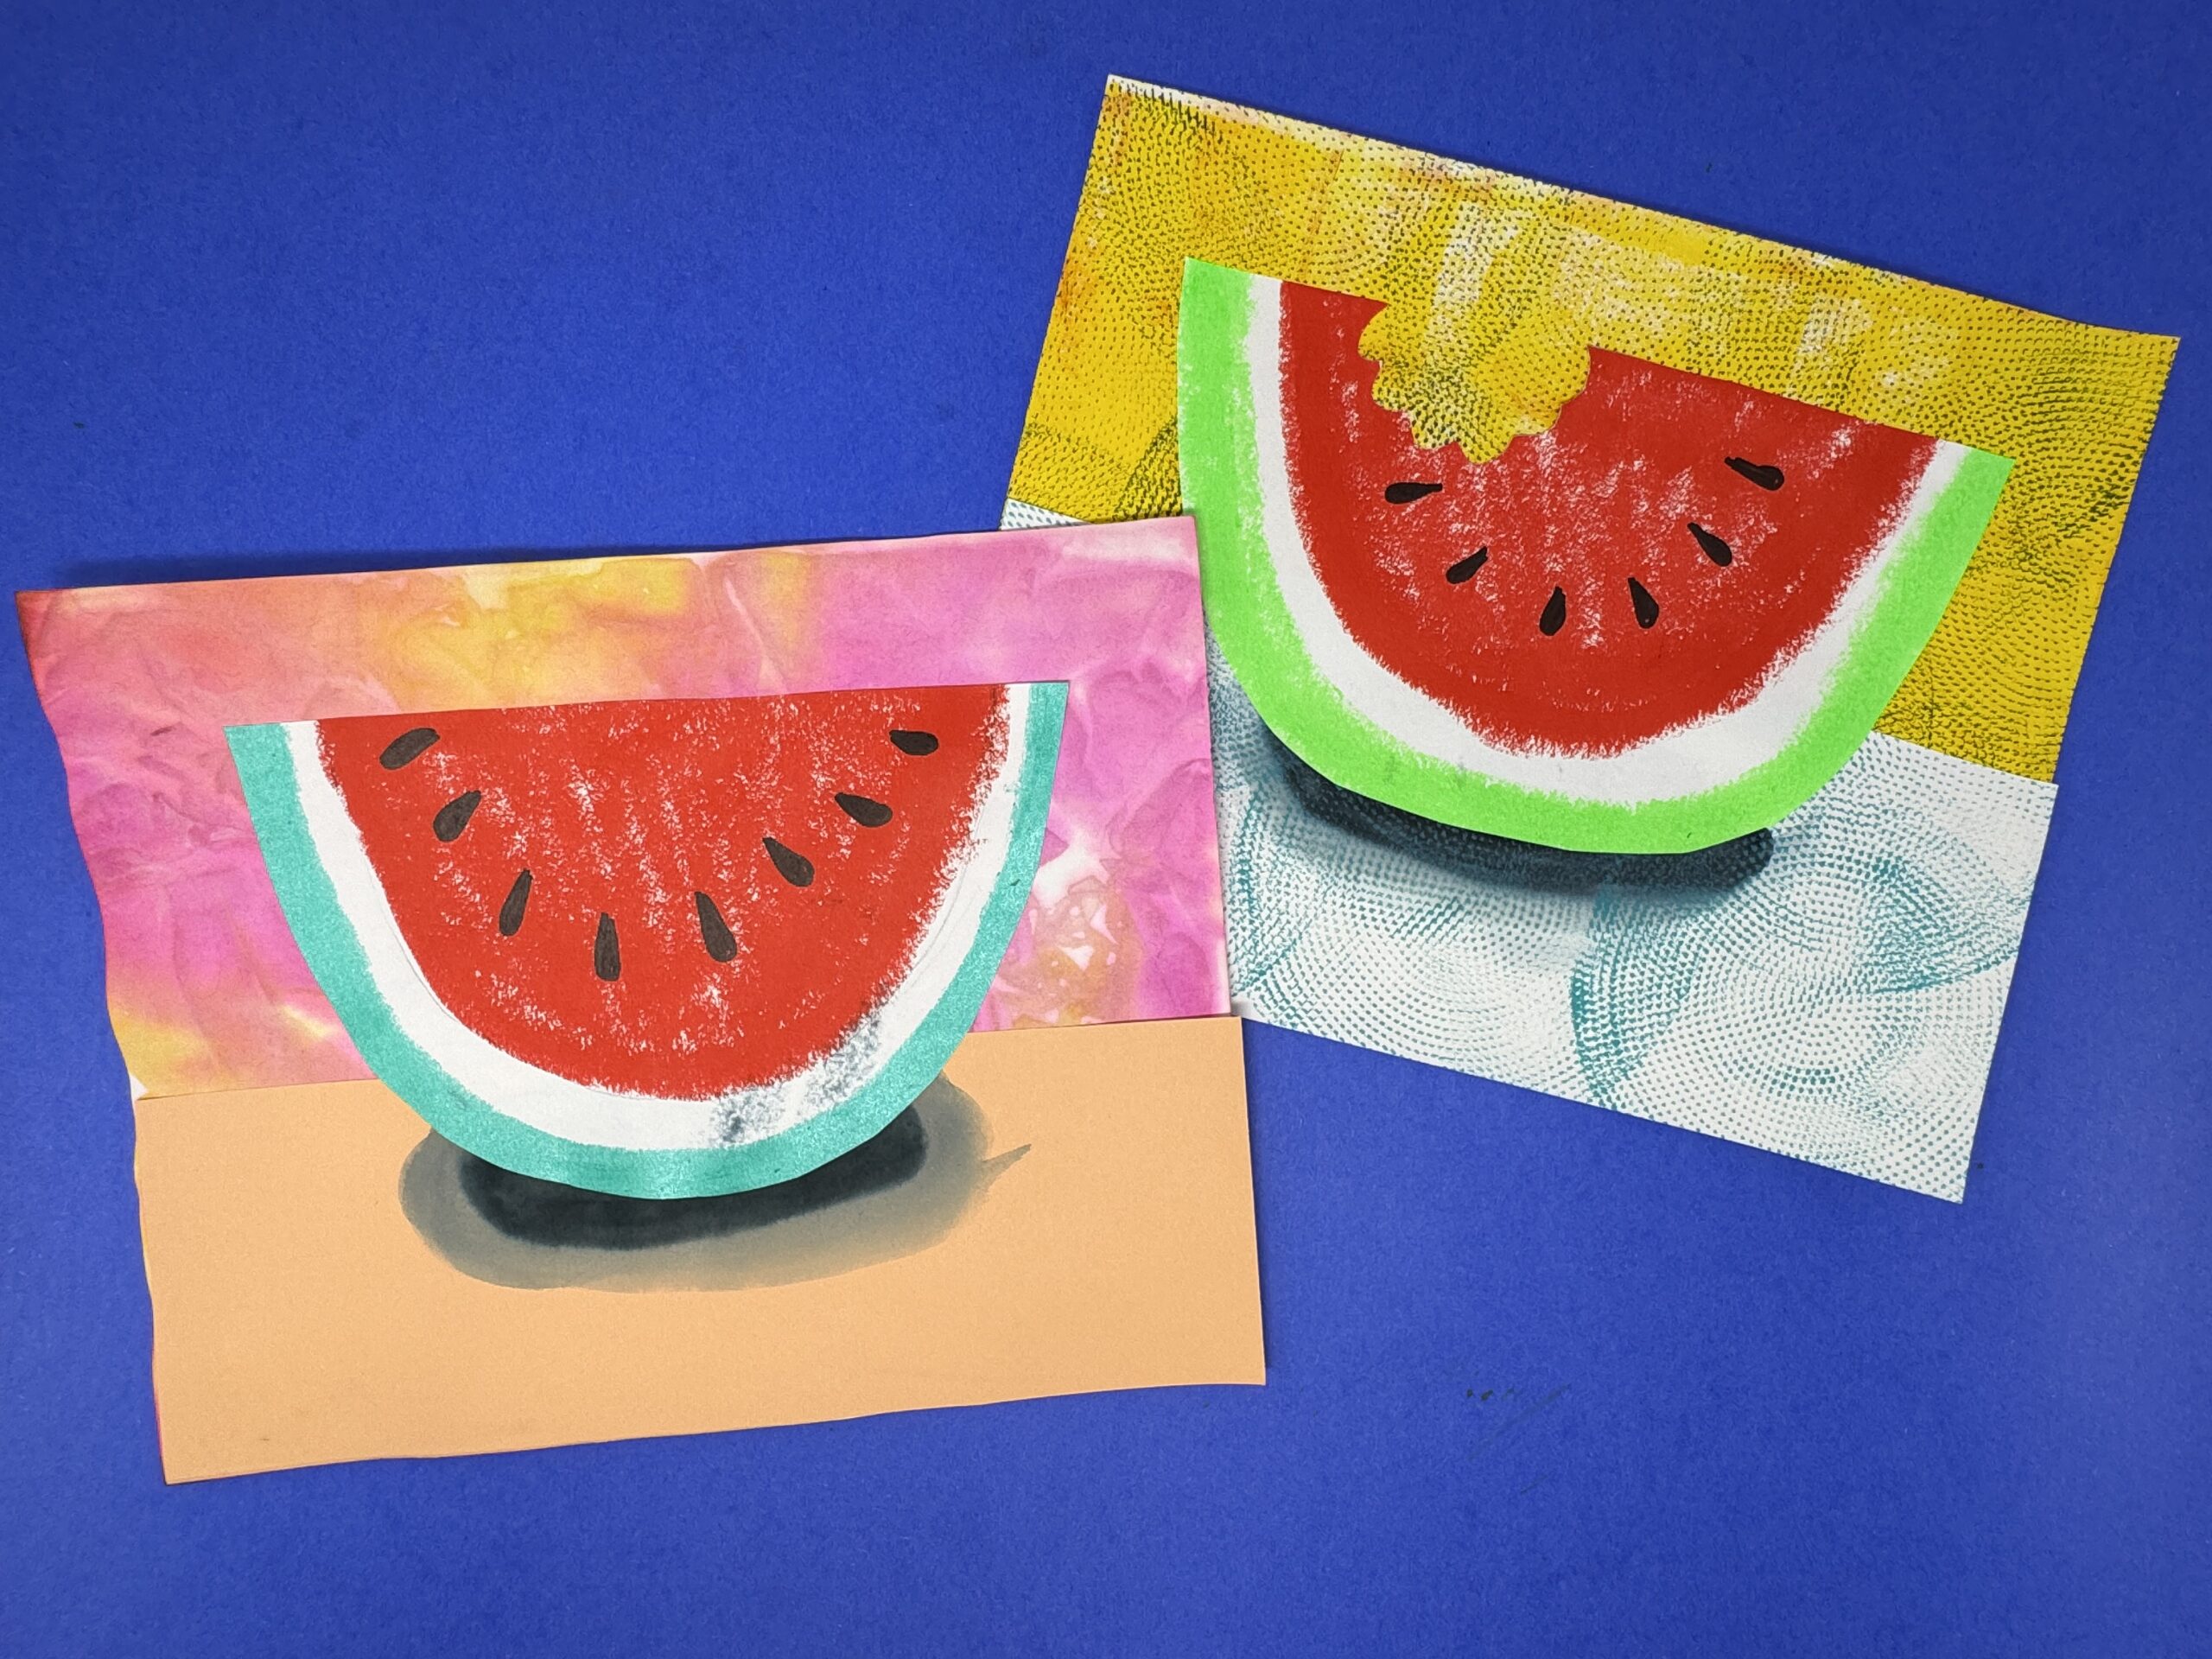
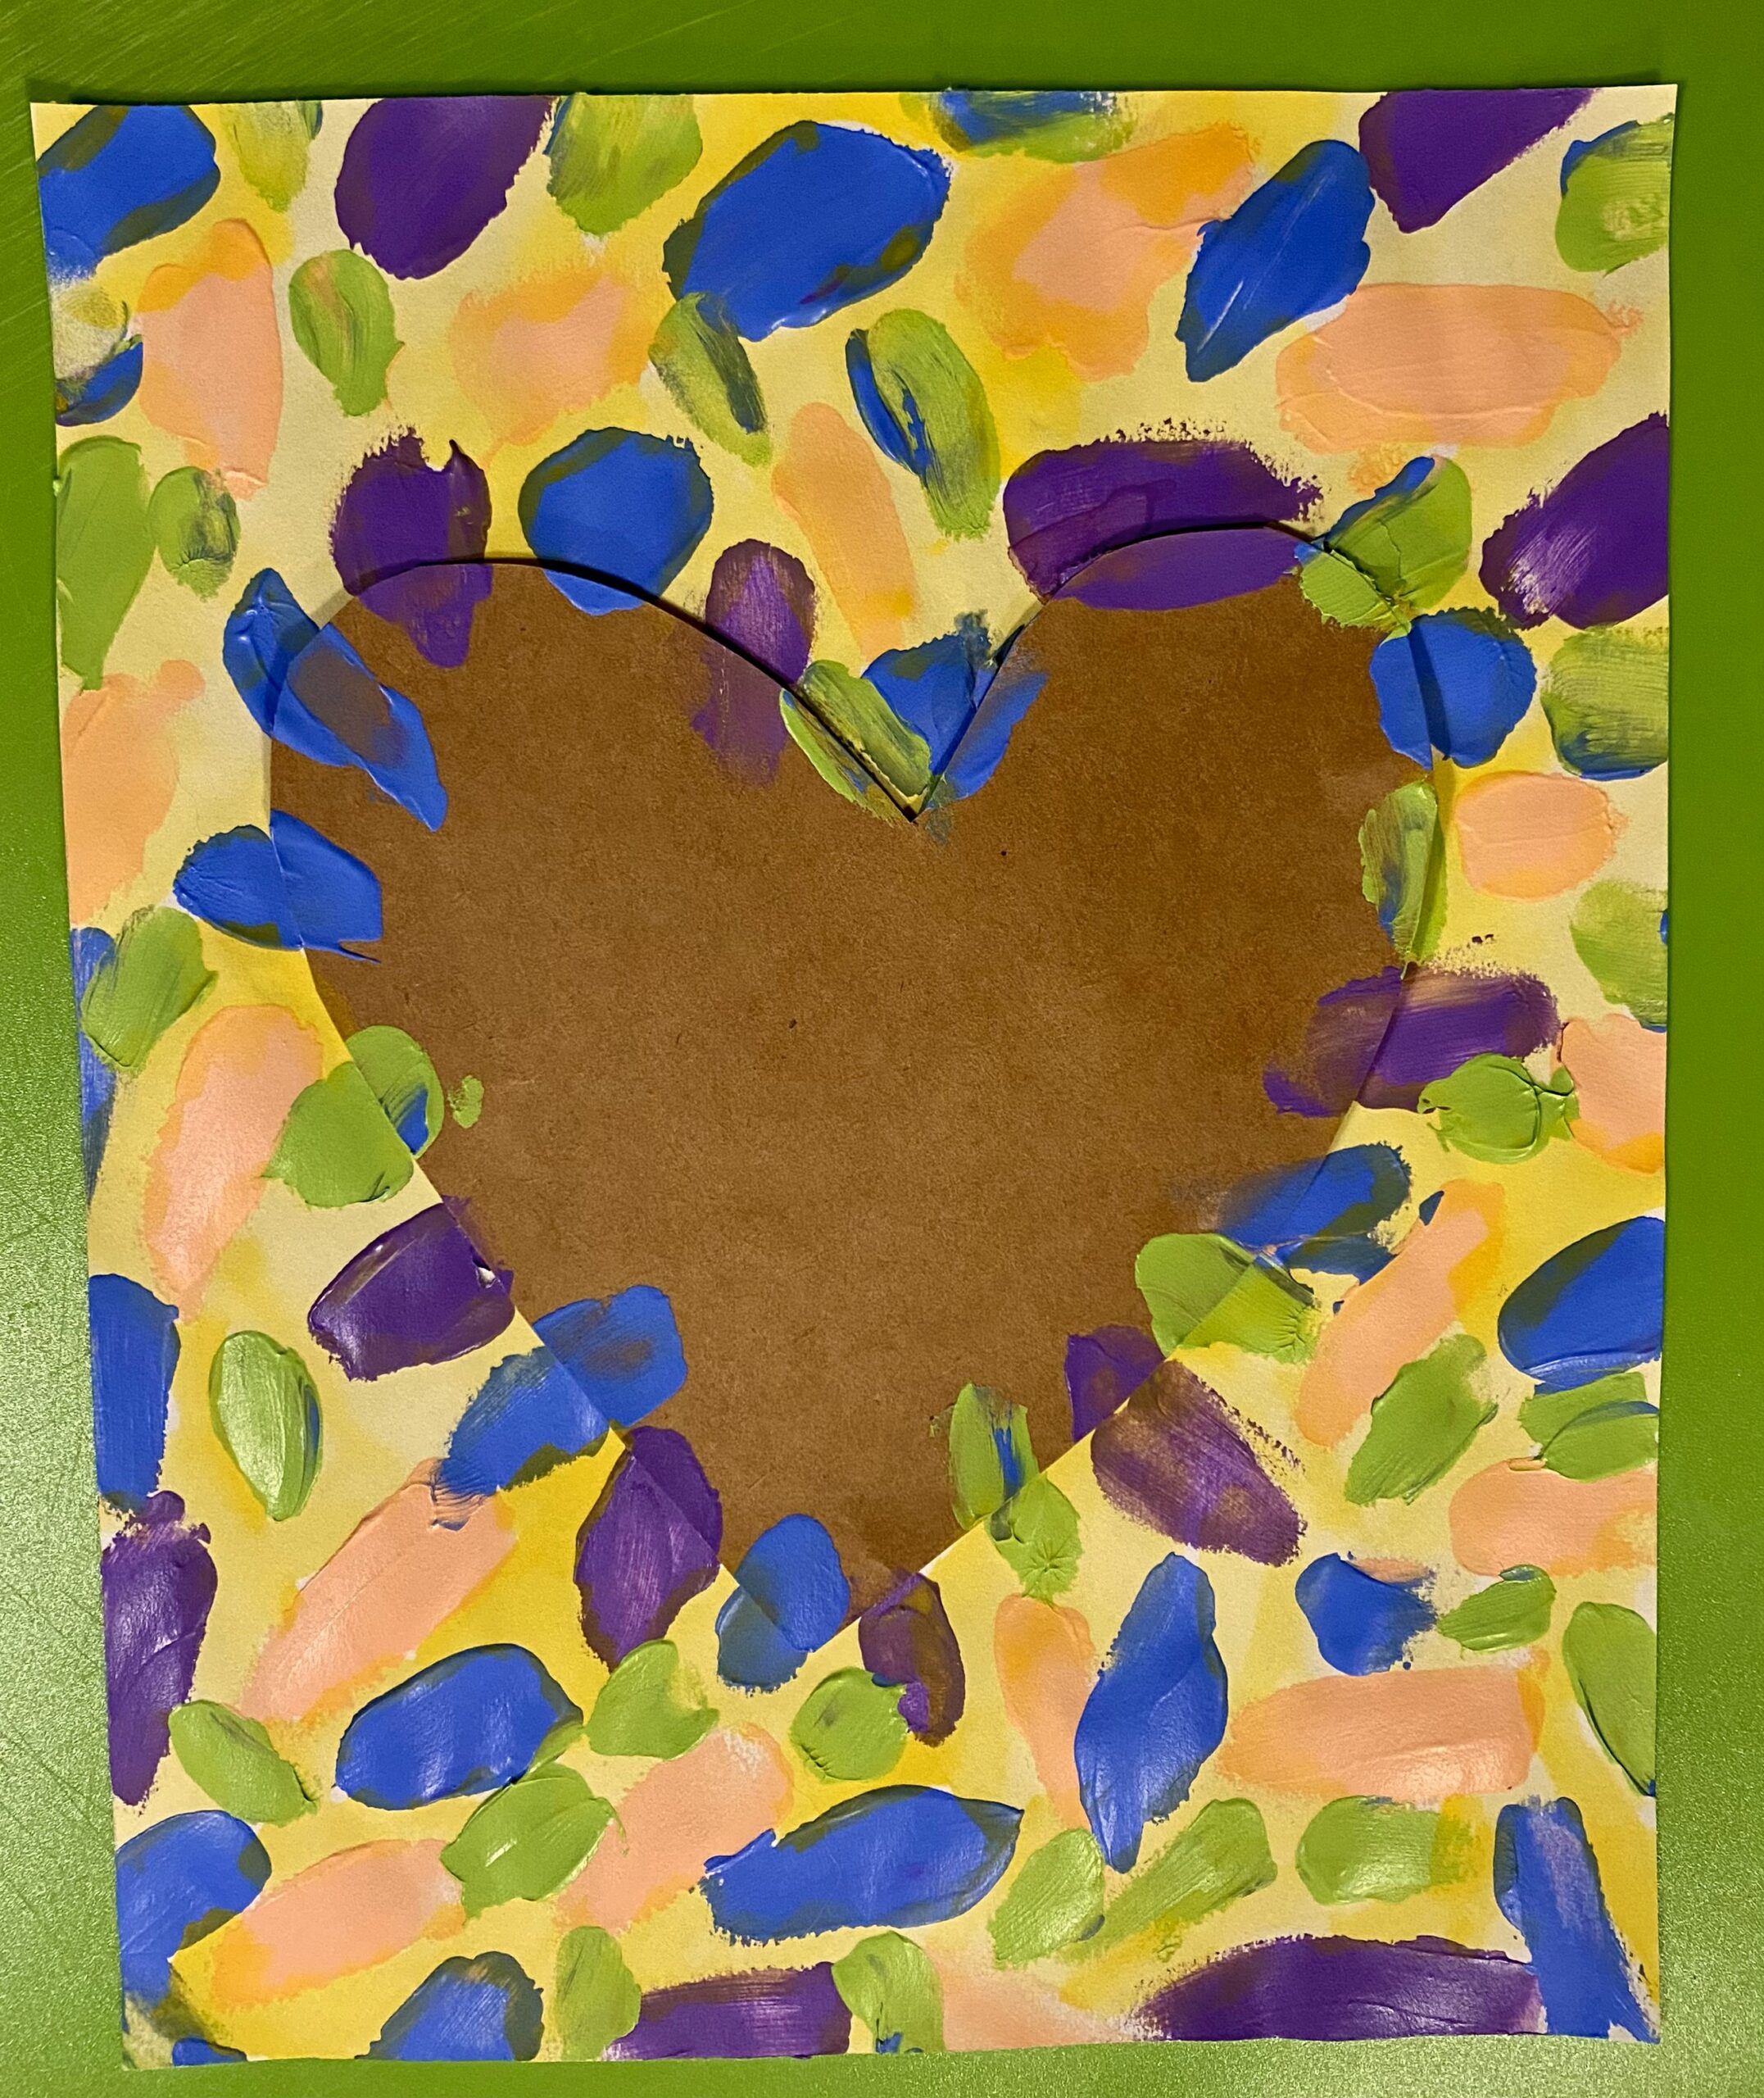
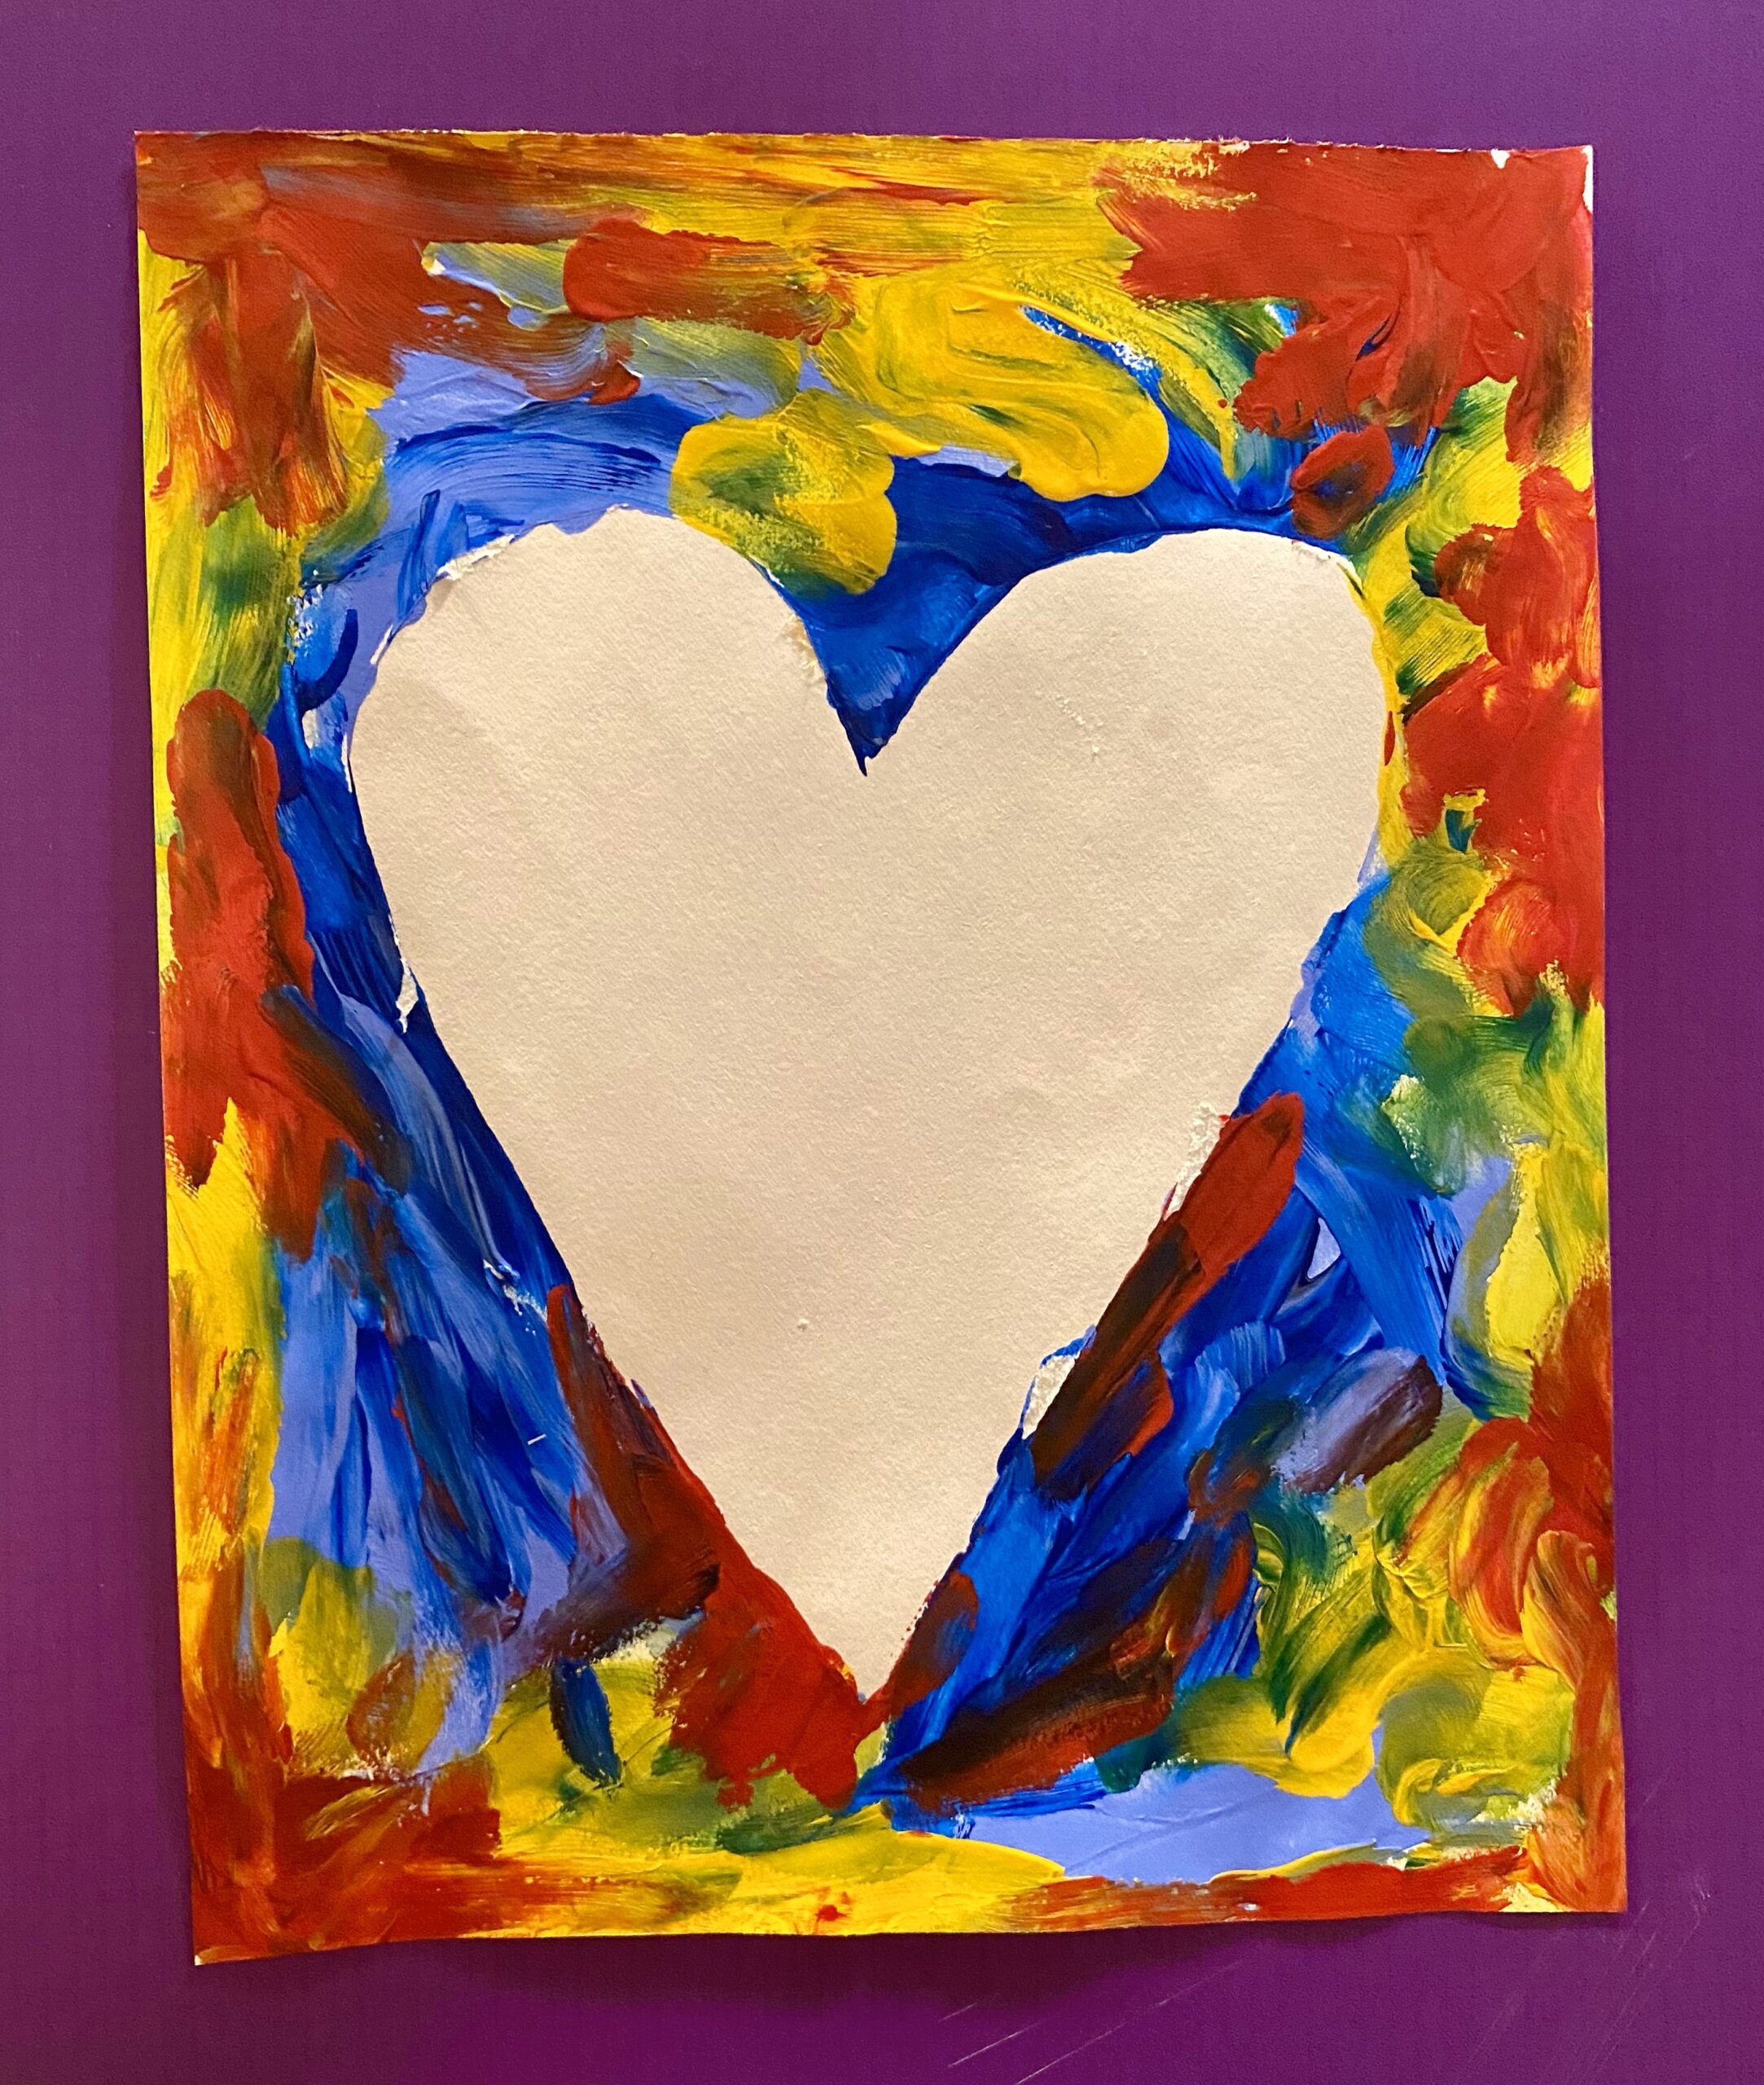
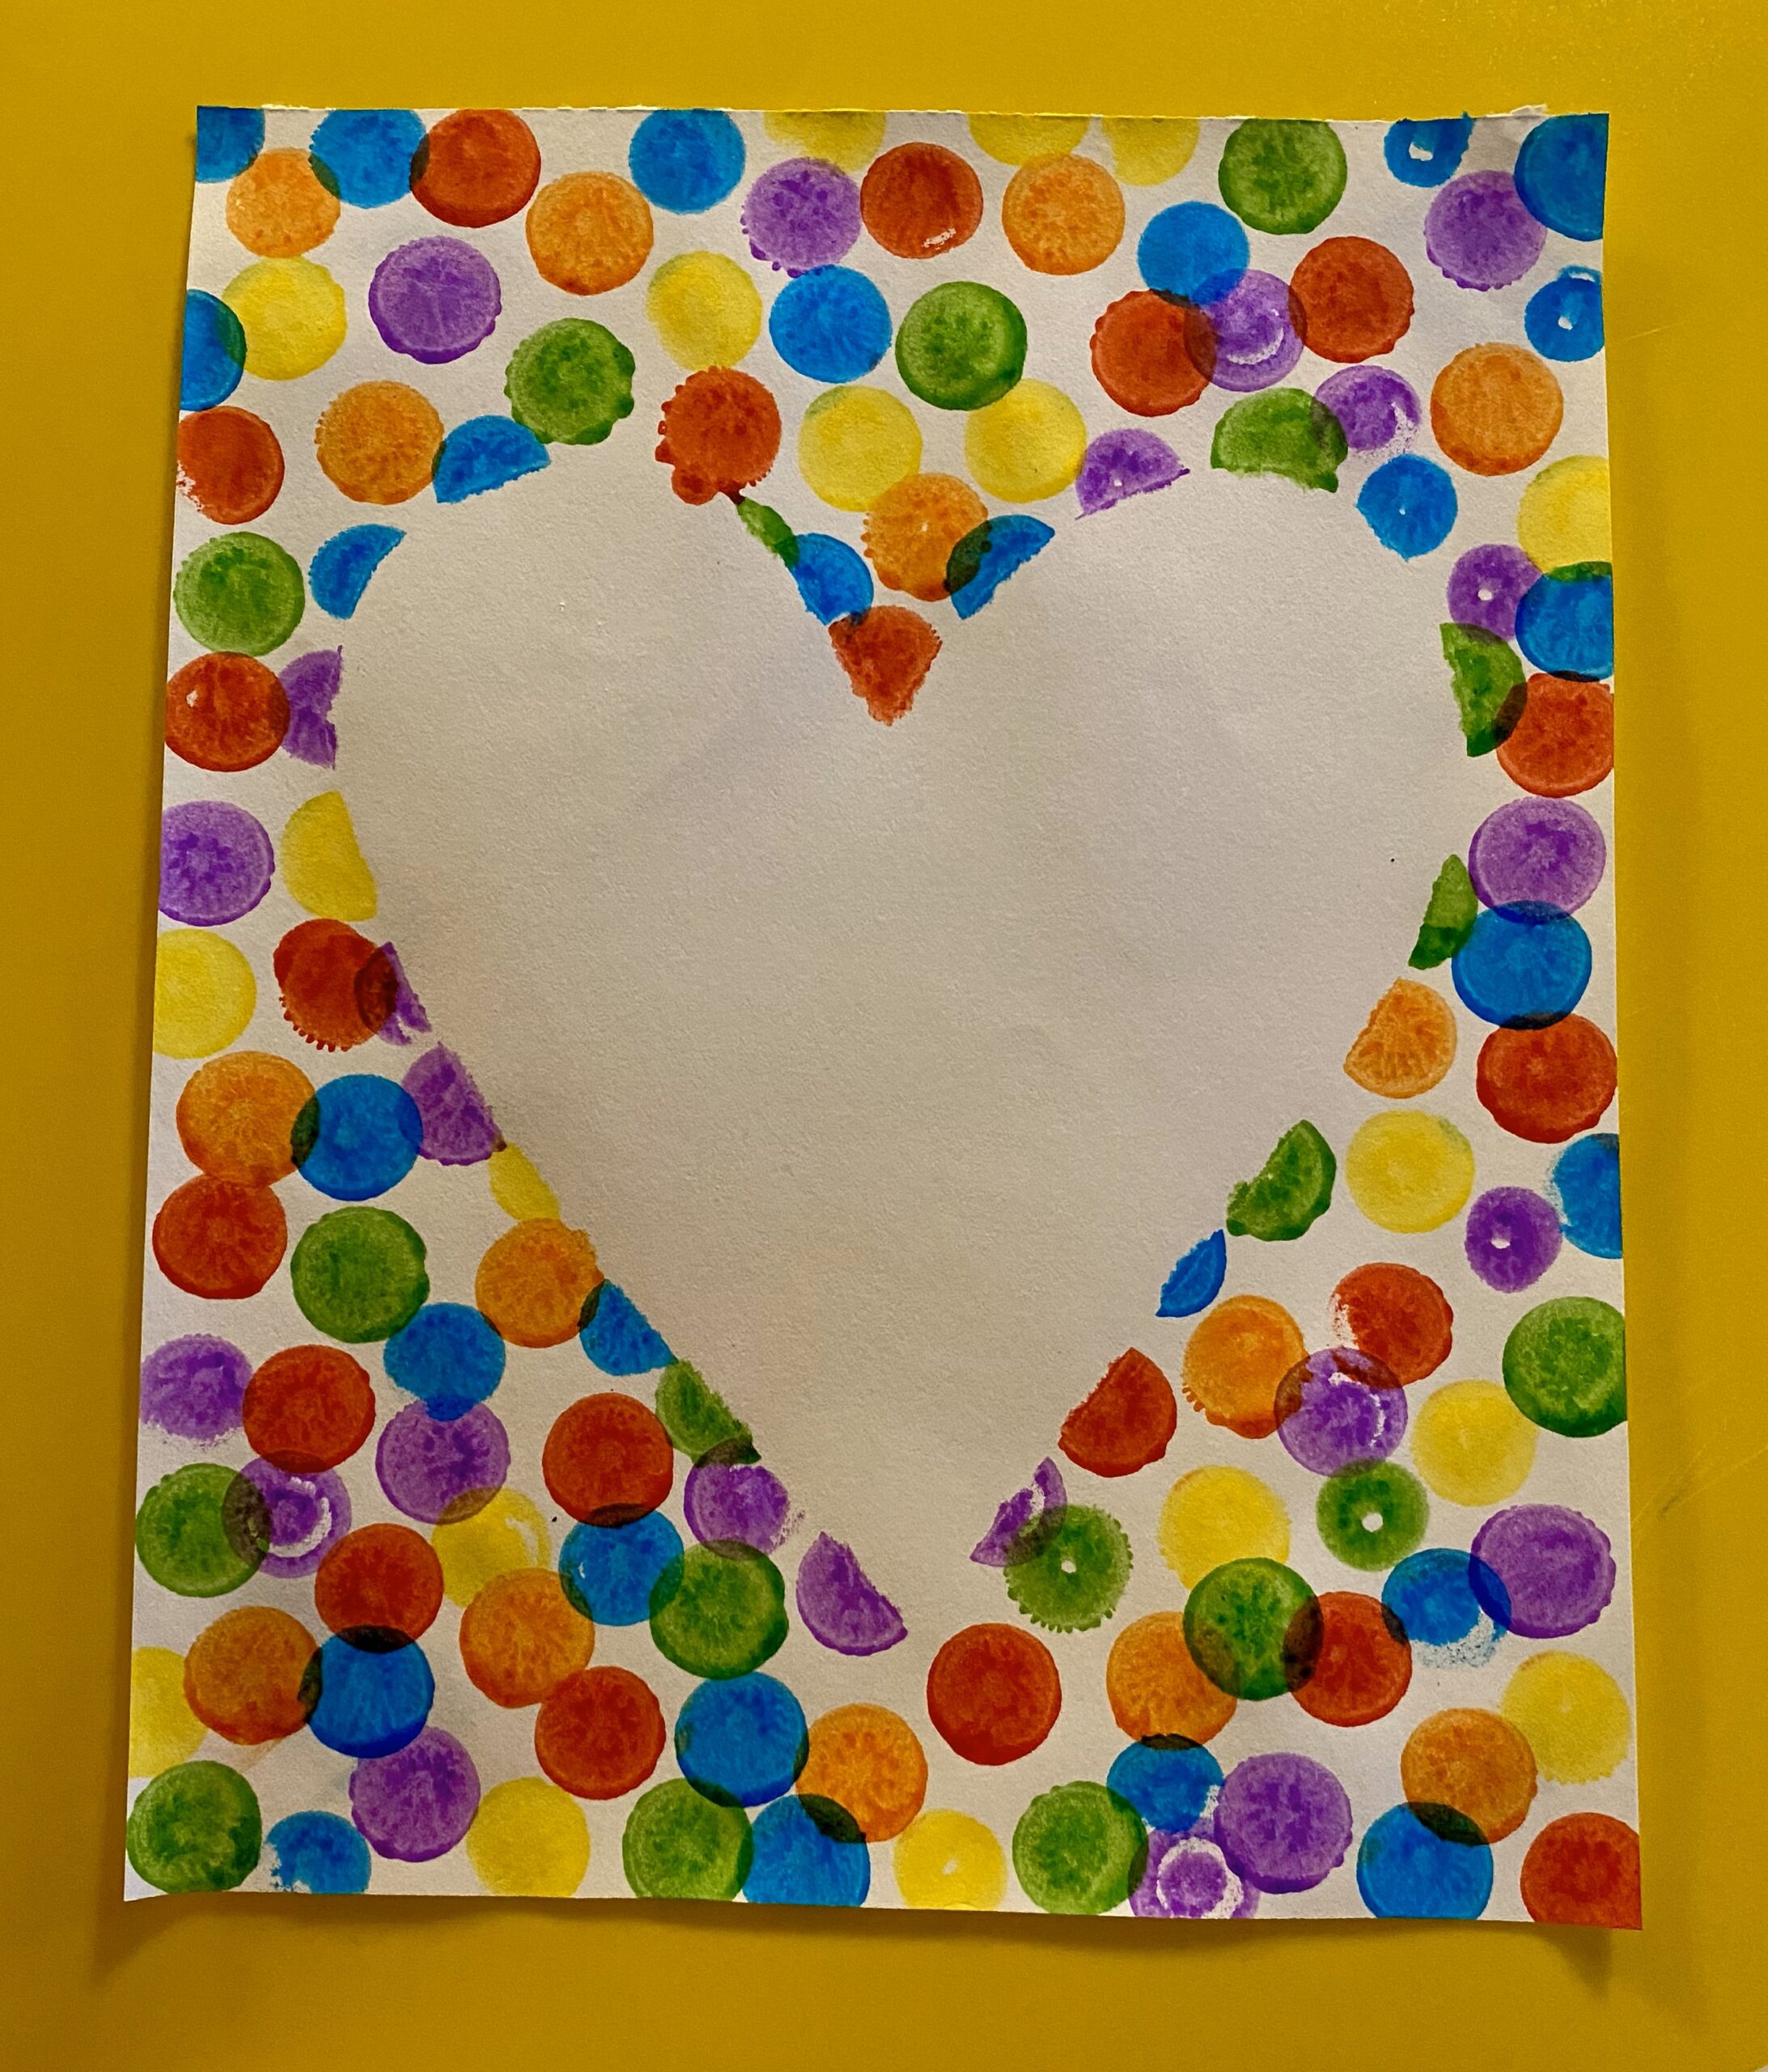
Step 3: Choose a texture option to fill the background around the masked shape.
*Fingerprinting or swipes of paint
*Dotted (Bingo daubers are a great tool for preschool! Easy to hang onto and create uniform dots)
*Finger painting
Step 4: After the masterpieces have dried, remove the masked shape to reveal!
Step 5: (Optional) A handprint could be added inside the shape if desired.
Use Colorful Solutions by Nic Hahn for background effects and ideas.