Shells that Smile
Project Objective
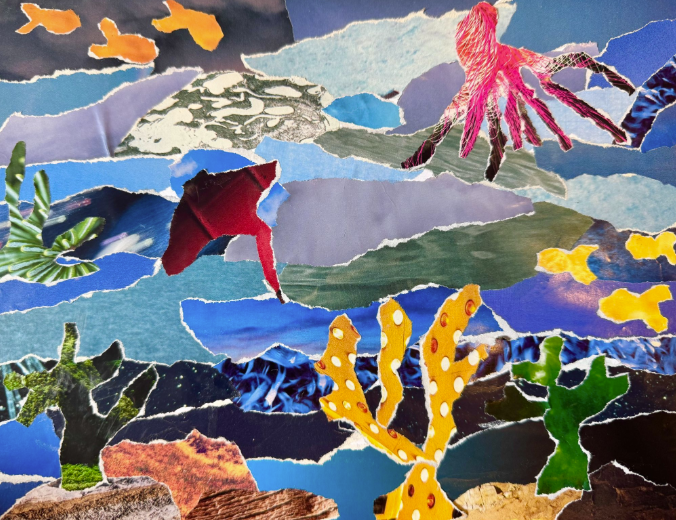
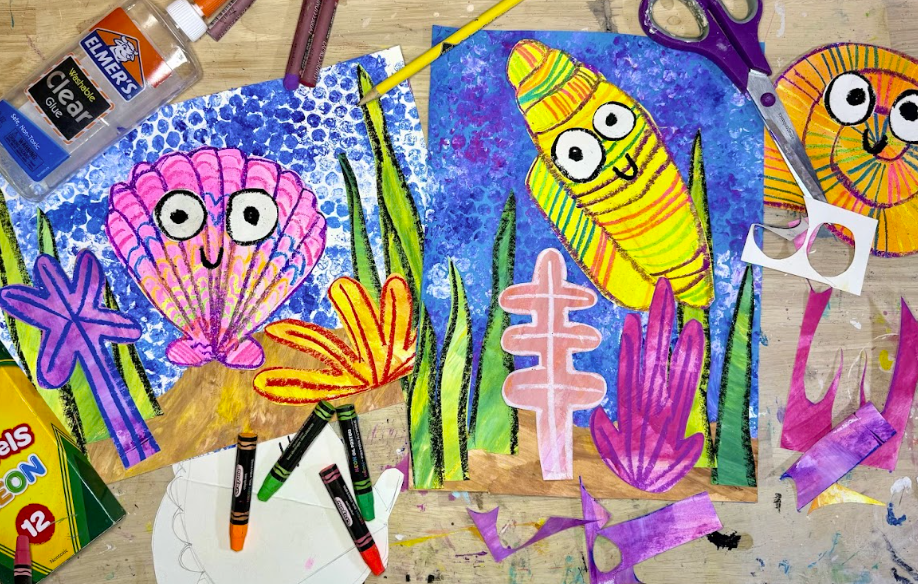
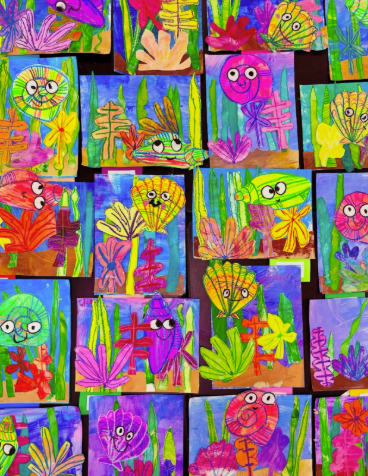
Inspired by the bright seashell illustrations of artist Lee-Foster Wilson, students will create bubble wrap ocean backgrounds, textured sand using cardboard painting techniques, and vibrant neon shells. Their final piece will include seaweed, coral, and a character-filled seashell that reflects their creativity.
Required Materials
Age Group
Resources
| Step One
Teacher will demonstrate how to use bubble wrap and paint to create ocean textures, modeling how to apply light blue, indigo, and white paint. Optional colors like purple, pink, and yellow may also be shown to enhance variety. The teacher will also model how to use cardboard scraps to scrape yellow, white, and brown paint to create sandy textured paper. Students will use bubble wrap to print their ocean background onto construction or white paper using selected colors. Afterward, they will use cardboard to scrape layers of paint onto another paper to create sand textures. All painted papers will be set aside to dry. |
| Step Two
Teacher will introduce the artist Lee-Foster Wilson, showing examples of her colorful, patterned shell artwork. The teacher will lead a short discussion about line, color, and how artists can express personality through simple designs. A demonstration will follow on how to trace a shell, add line designs, and apply neon paint. Students will use tracers to outline a seashell on white paper, draw interior line patterns, and paint their shell using neon colors. The painted shells will be left to dry for cutting and use in the final assembly. |
| Step Three
Teacher will model how to tear or cut the sandy painted paper and place it onto the background to create an ocean floor. The teacher will then demonstrate how to cut seaweed from green paper and create simple coral shapes using scraps of colorful painted paper. A brief review of collage layering and composition will be given before students begin assembling. Students will cut or tear their sandy paper and glue it to their ocean background. They will then create seaweed and coral shapes, arrange them for visual balance, and glue them down. Afterward, students will cut out their painted shell from Day 2, add expressive eyes and a smile, and glue it to complete their mixed media underwater scene. |
| Step Four
Students will print an underwater background using bubble wrap and shades of blue, indigo, and white (optional: yellow, pink, purple). Students will then use cardboard to scrape white, yellow, and brown paint onto another paper to create a sand texture. Both papers will be set aside to dry. |
| Step Five
Students will study seashell artwork by Lee-Foster Wilson, trace a shell, and add lines to show pattern. They will paint their shells using neon colors to emphasize shape and design, then allow them to dry. |
| Step Six
Students will tear or cut their sandy paper and glue it to the bottom of their background. They will cut out seaweed from green paper and coral shapes from painted scraps. After arranging and gluing these elements, students will cut out their neon shell, add eyes and a smile, and glue it to their scene to complete the collage. |
| Step Seven
Students will cut out their painted shell, add eyes and a smile, and glue it onto their scene to complete their underwater collage. |